2001 KEYBOARD SEQUENCER
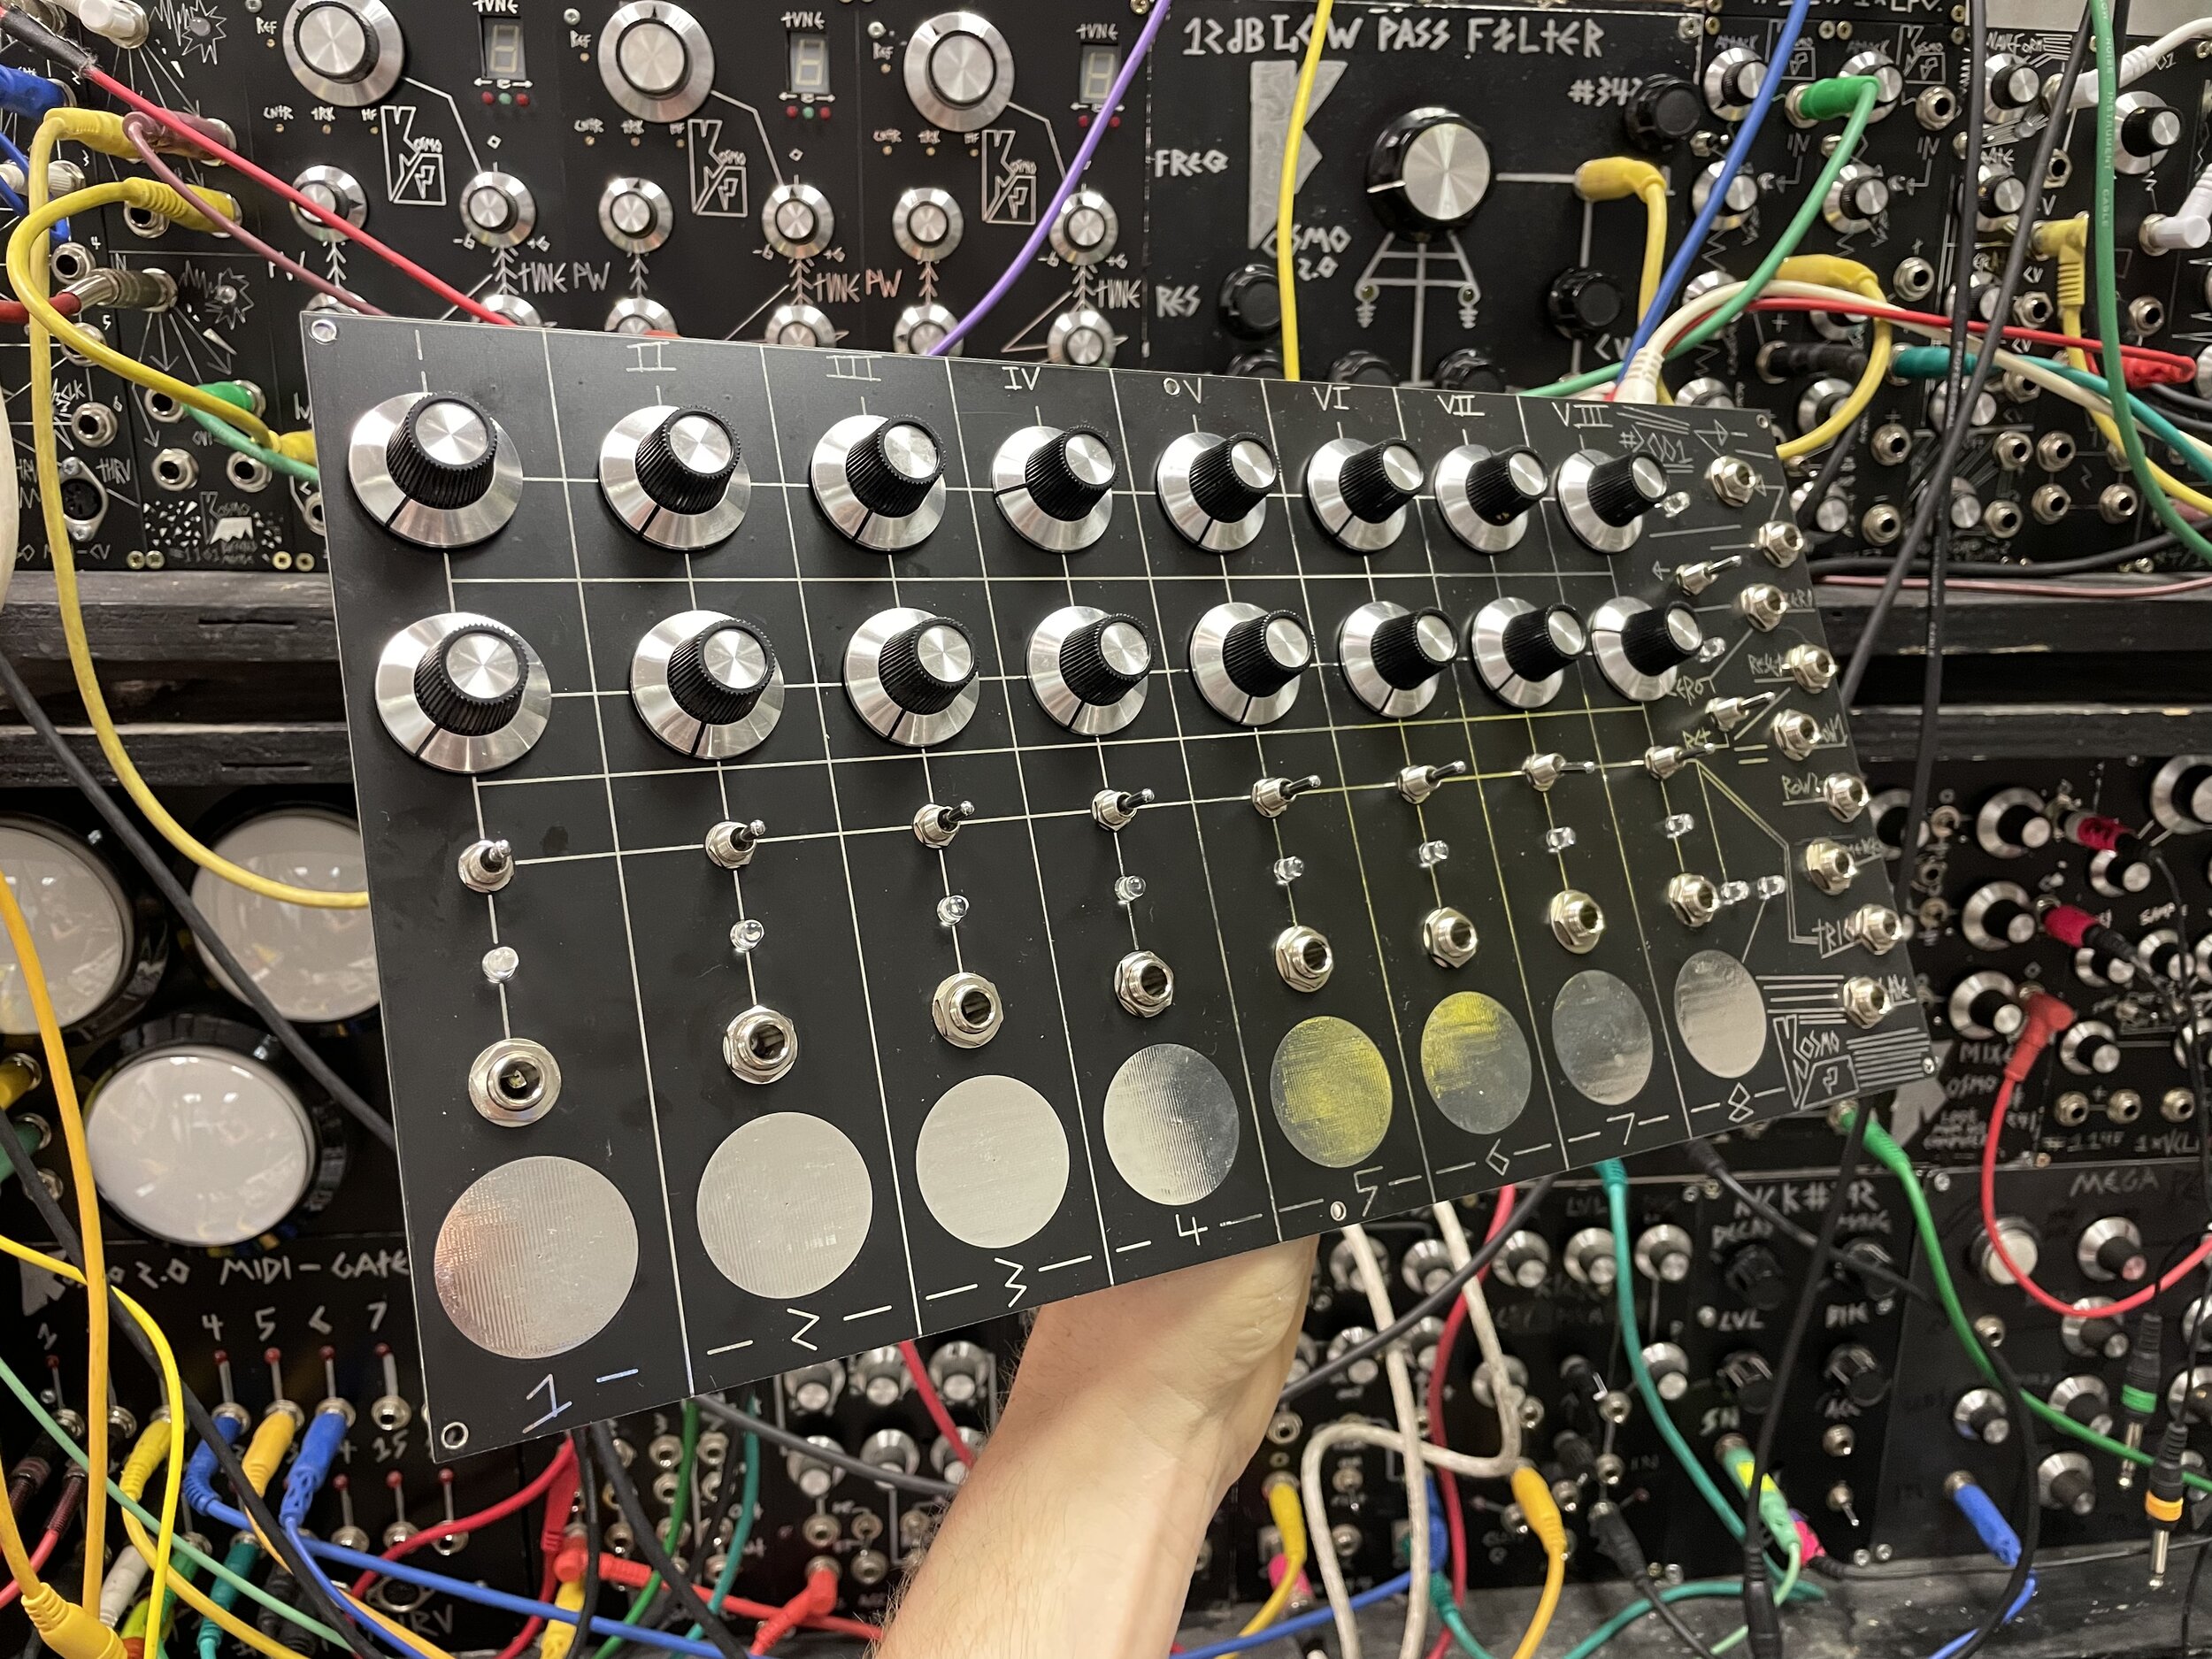
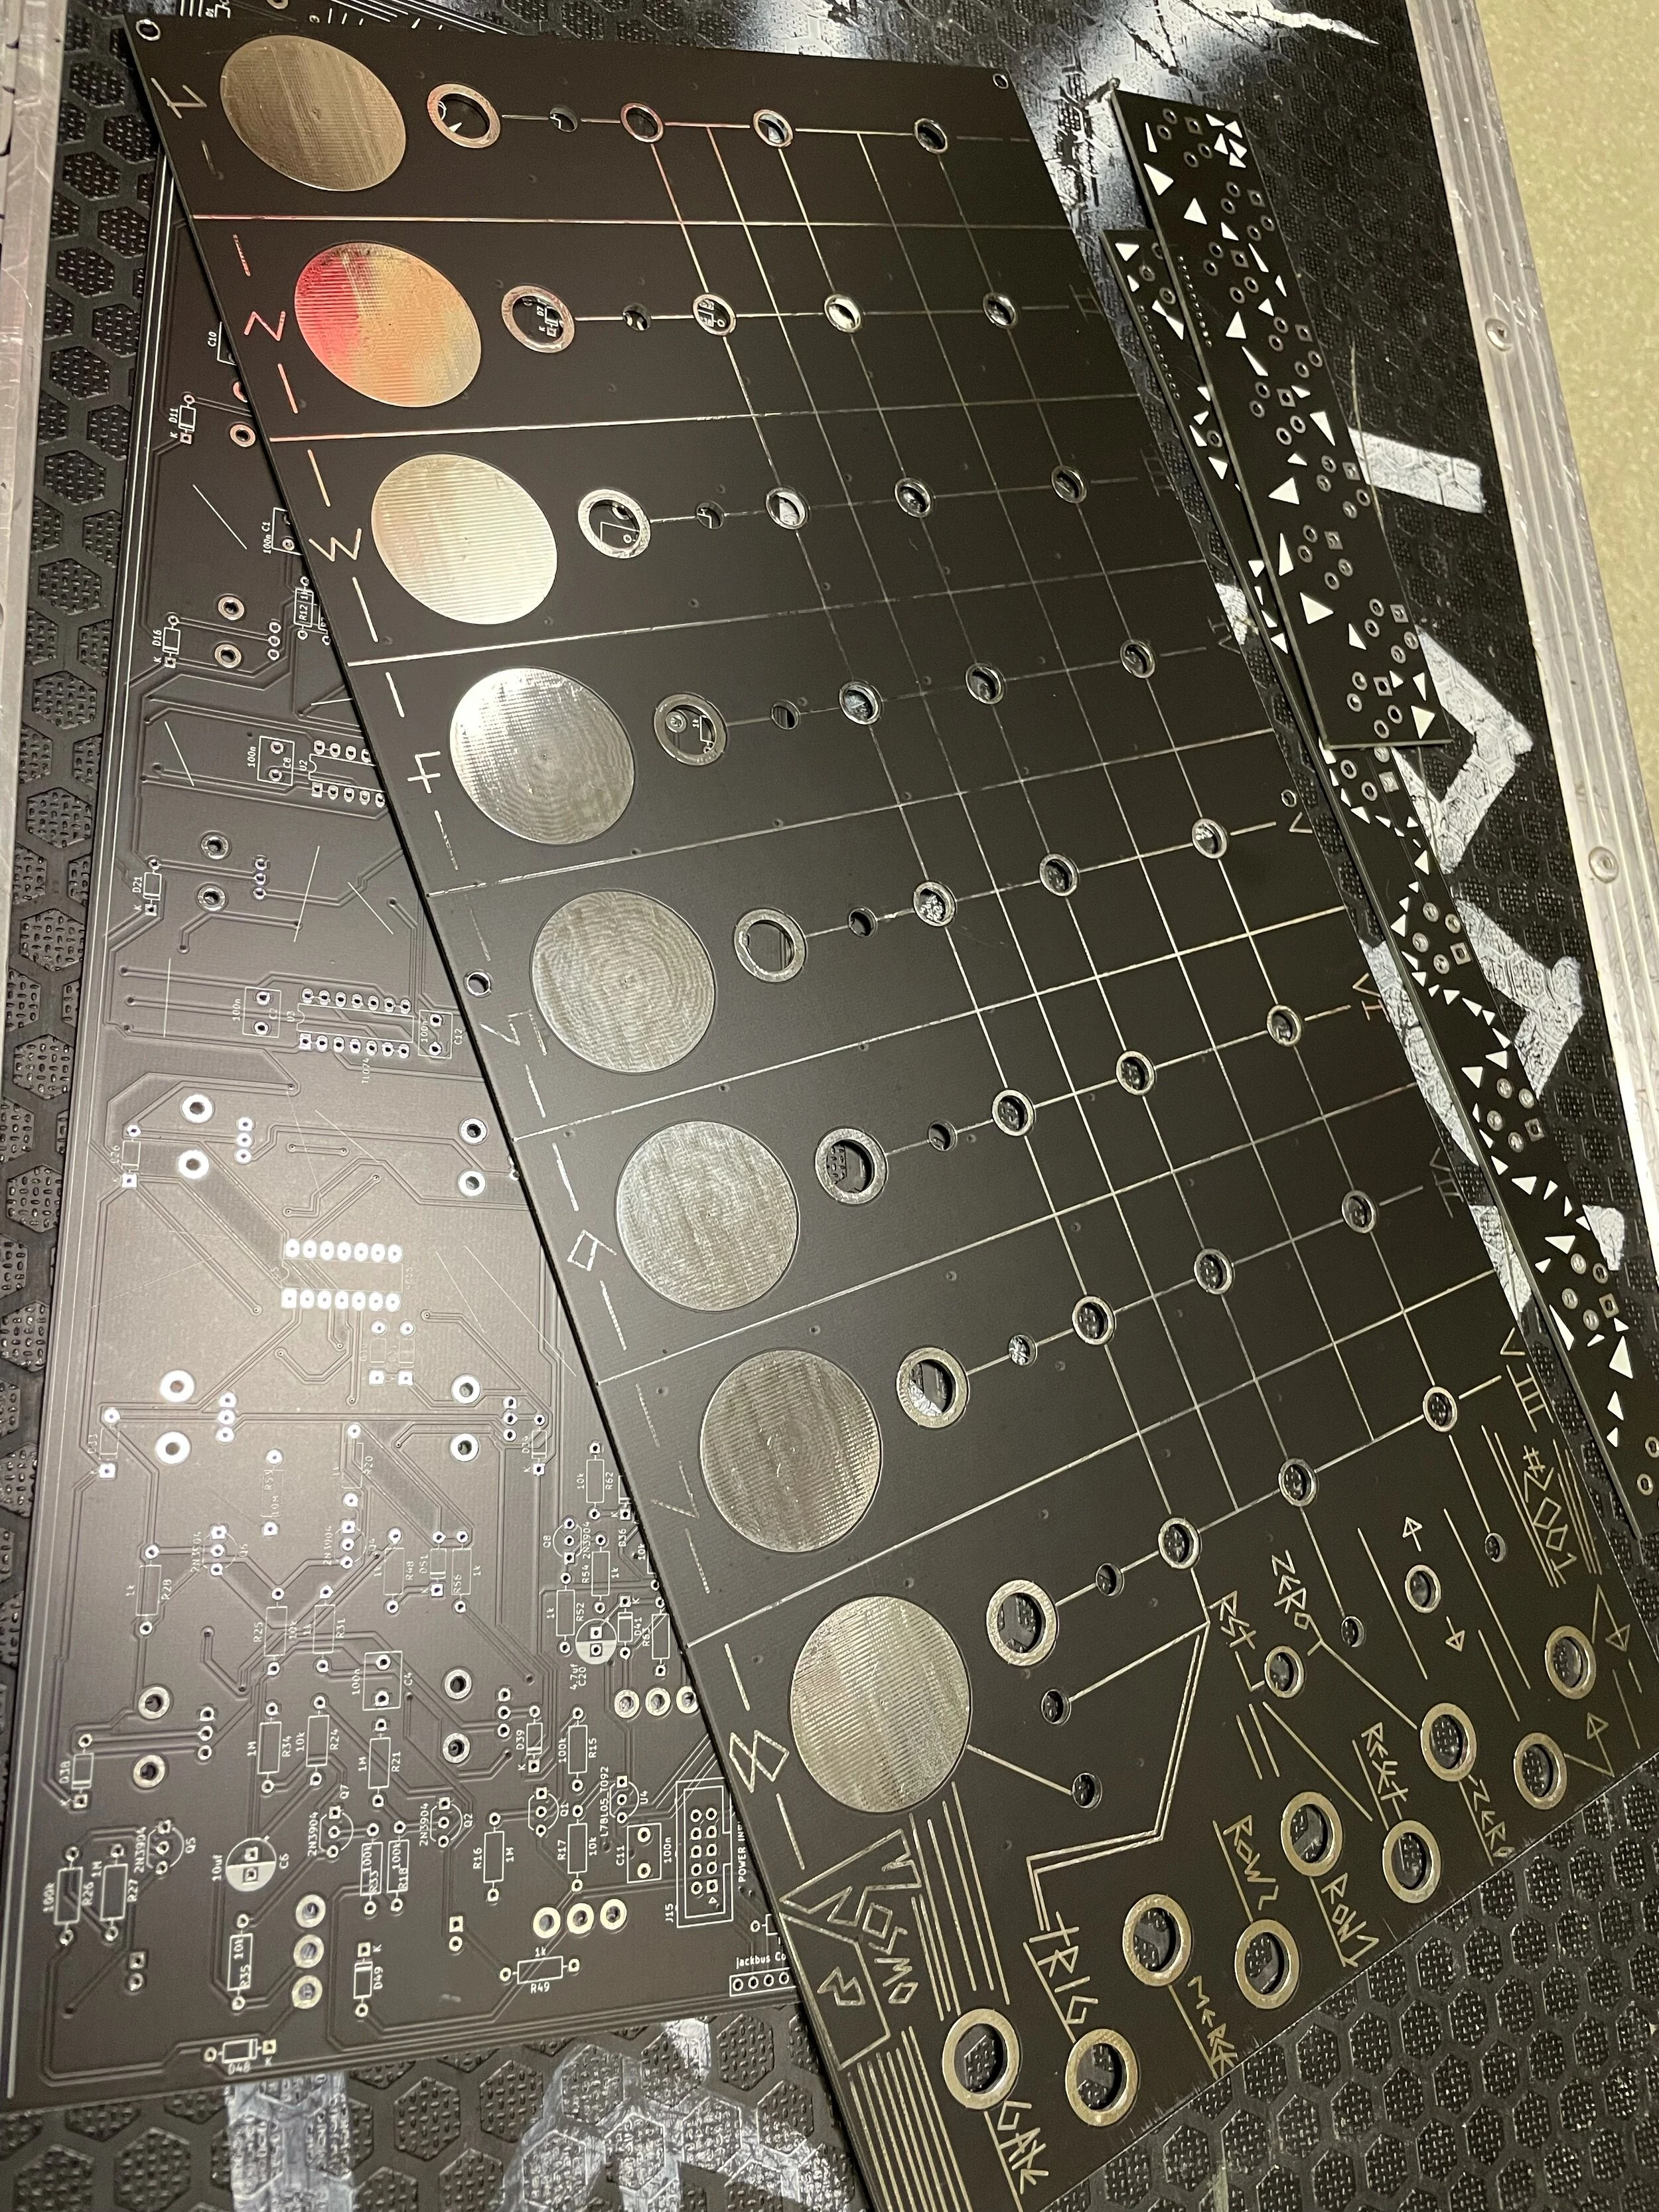
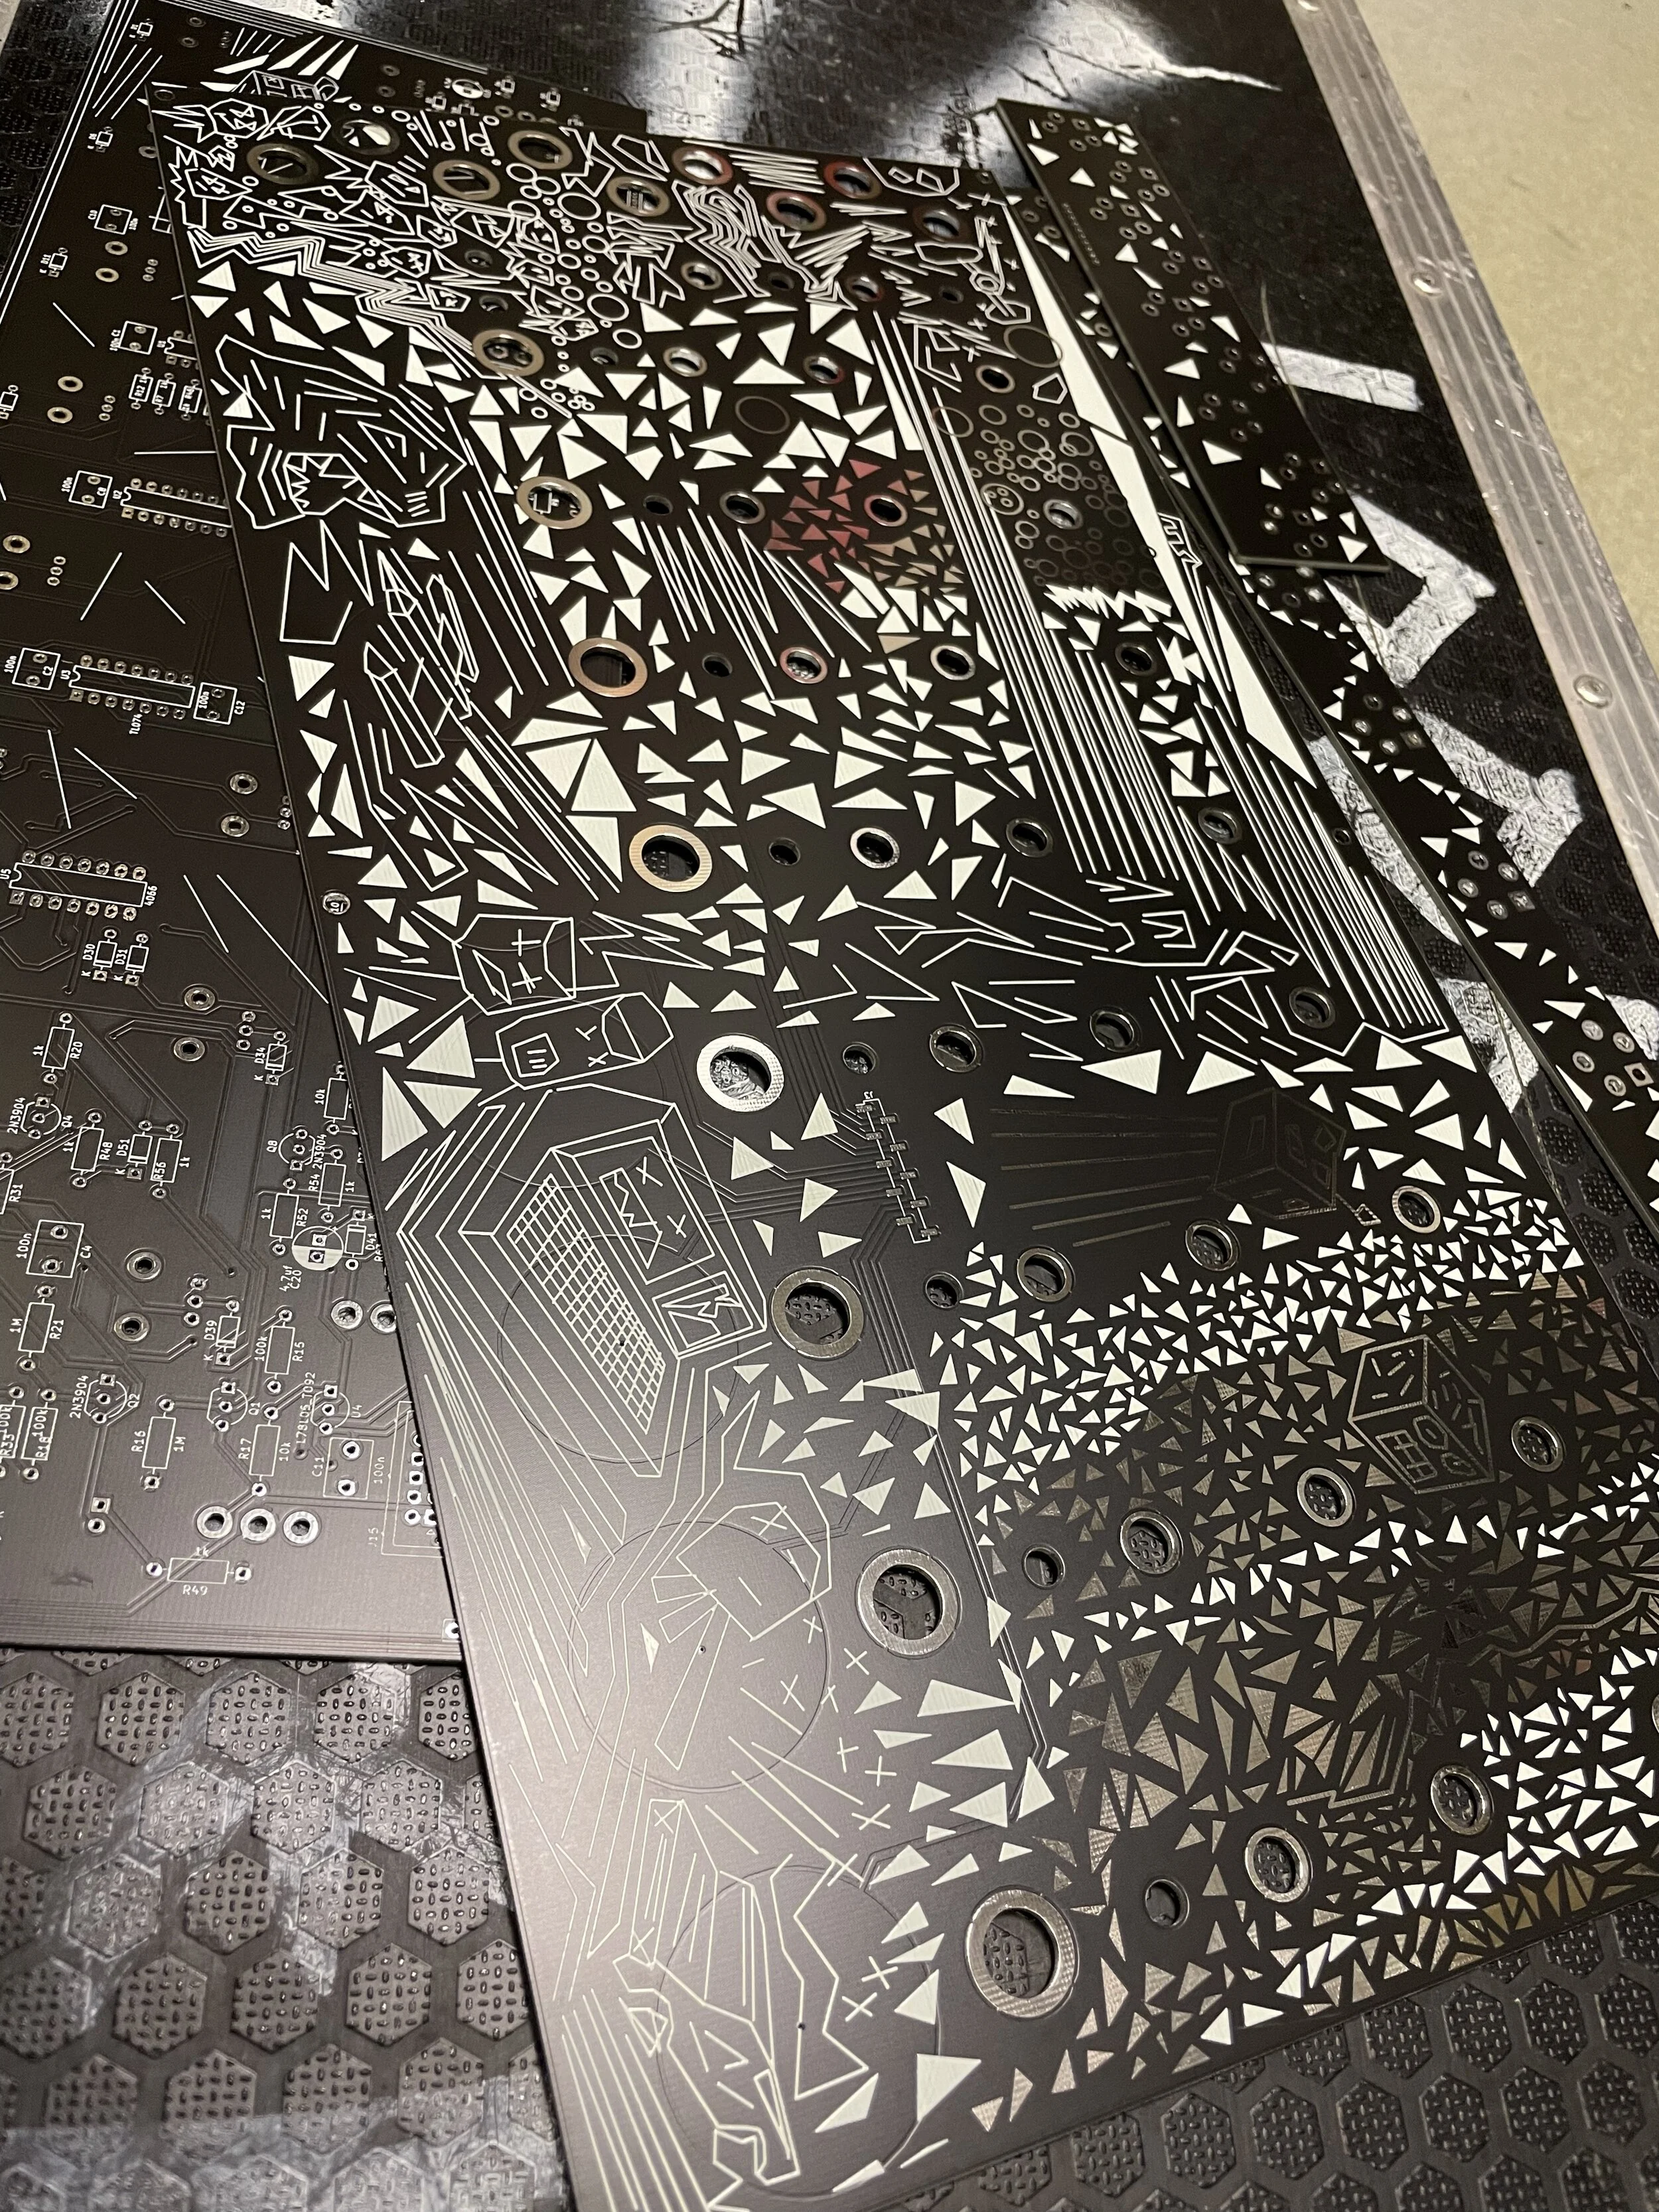
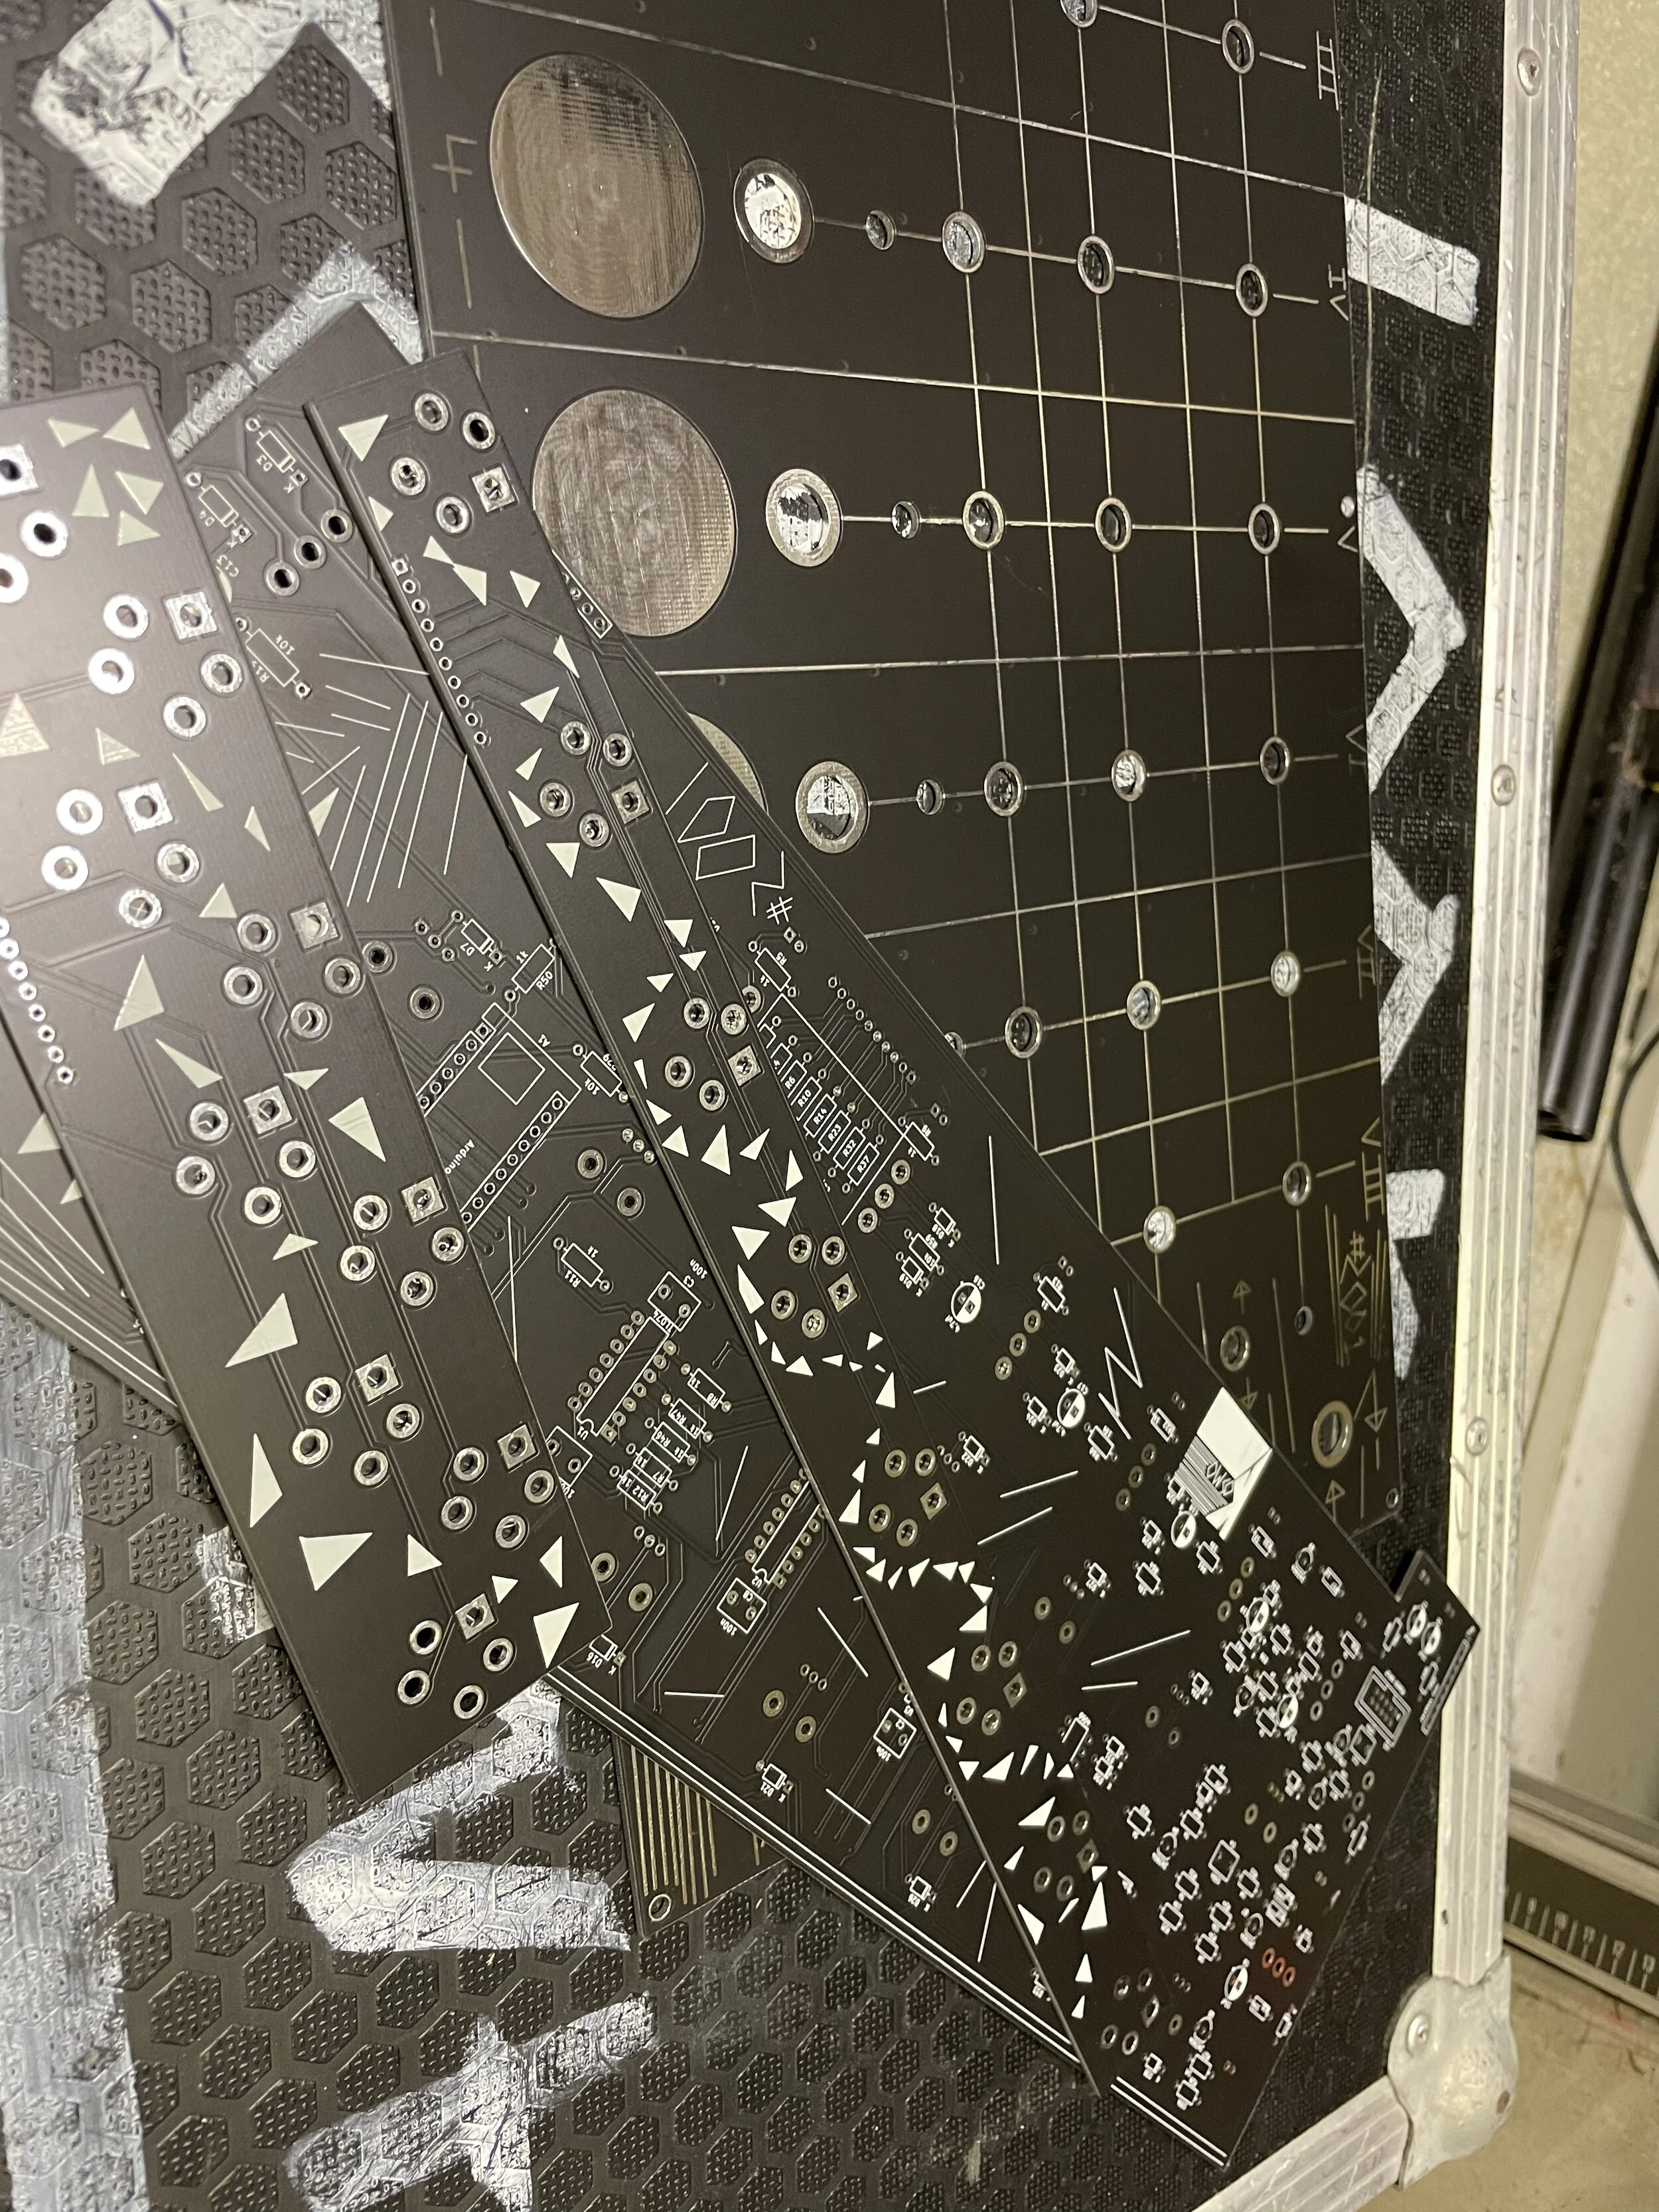
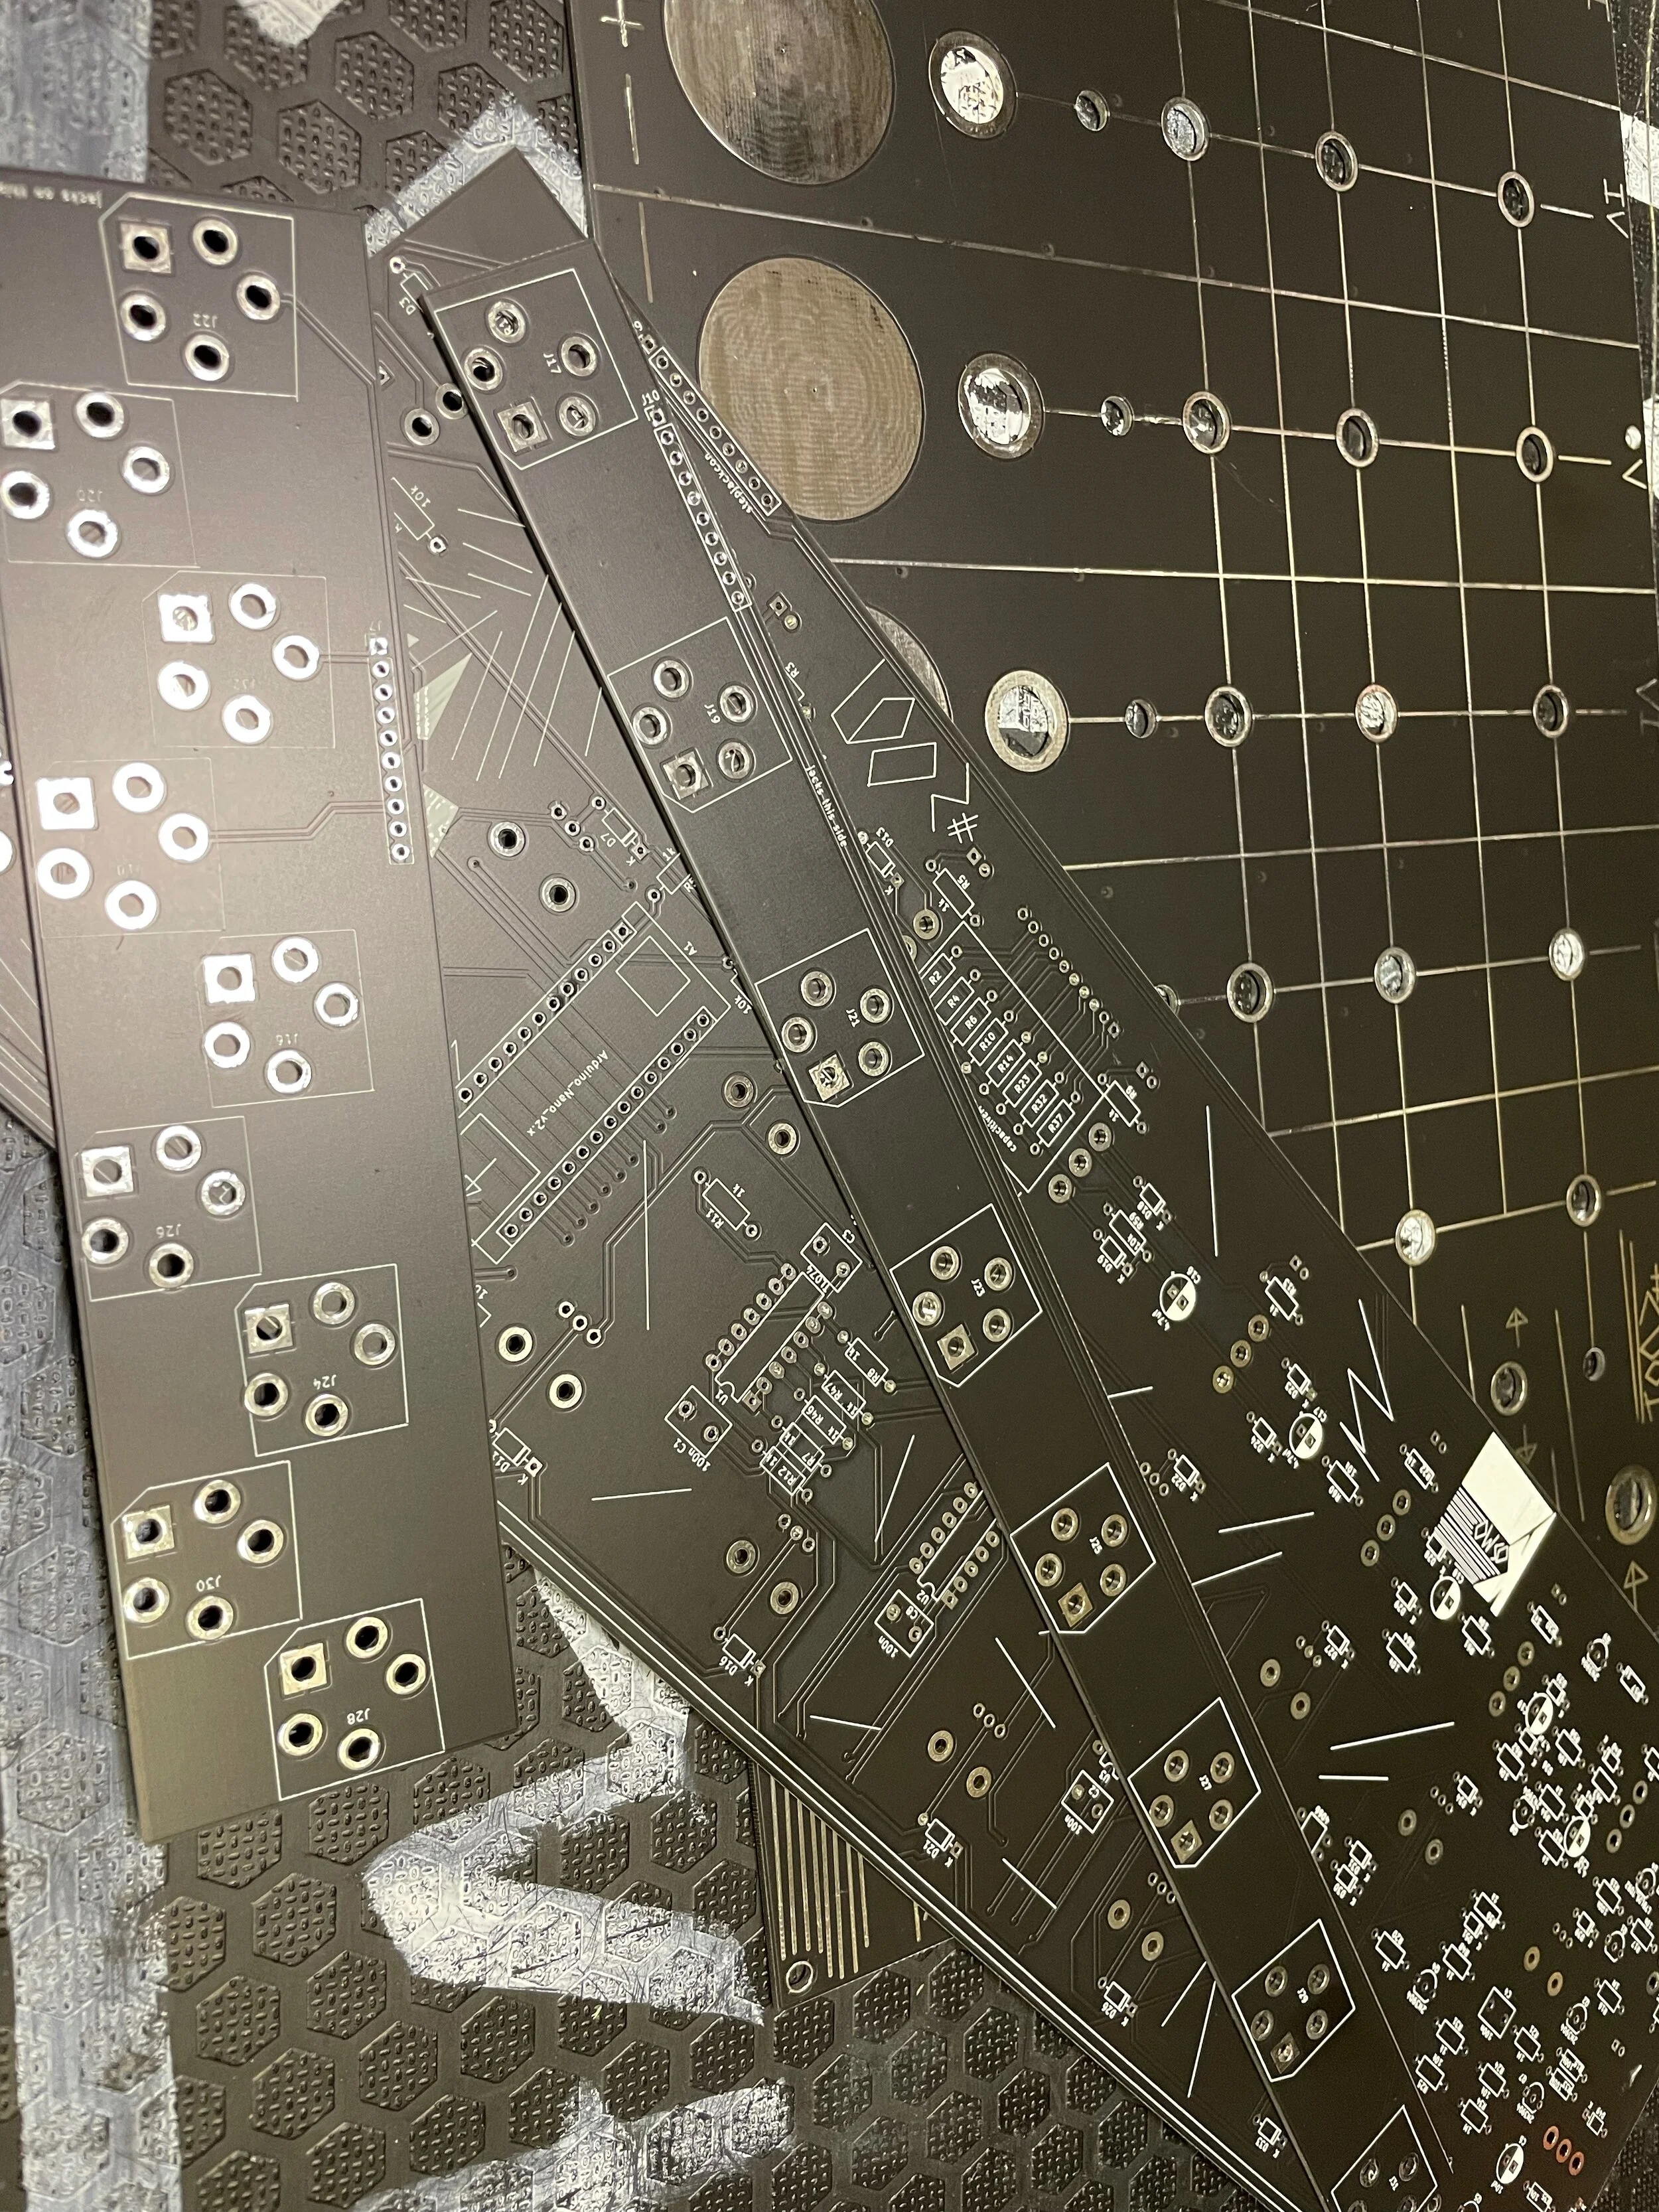
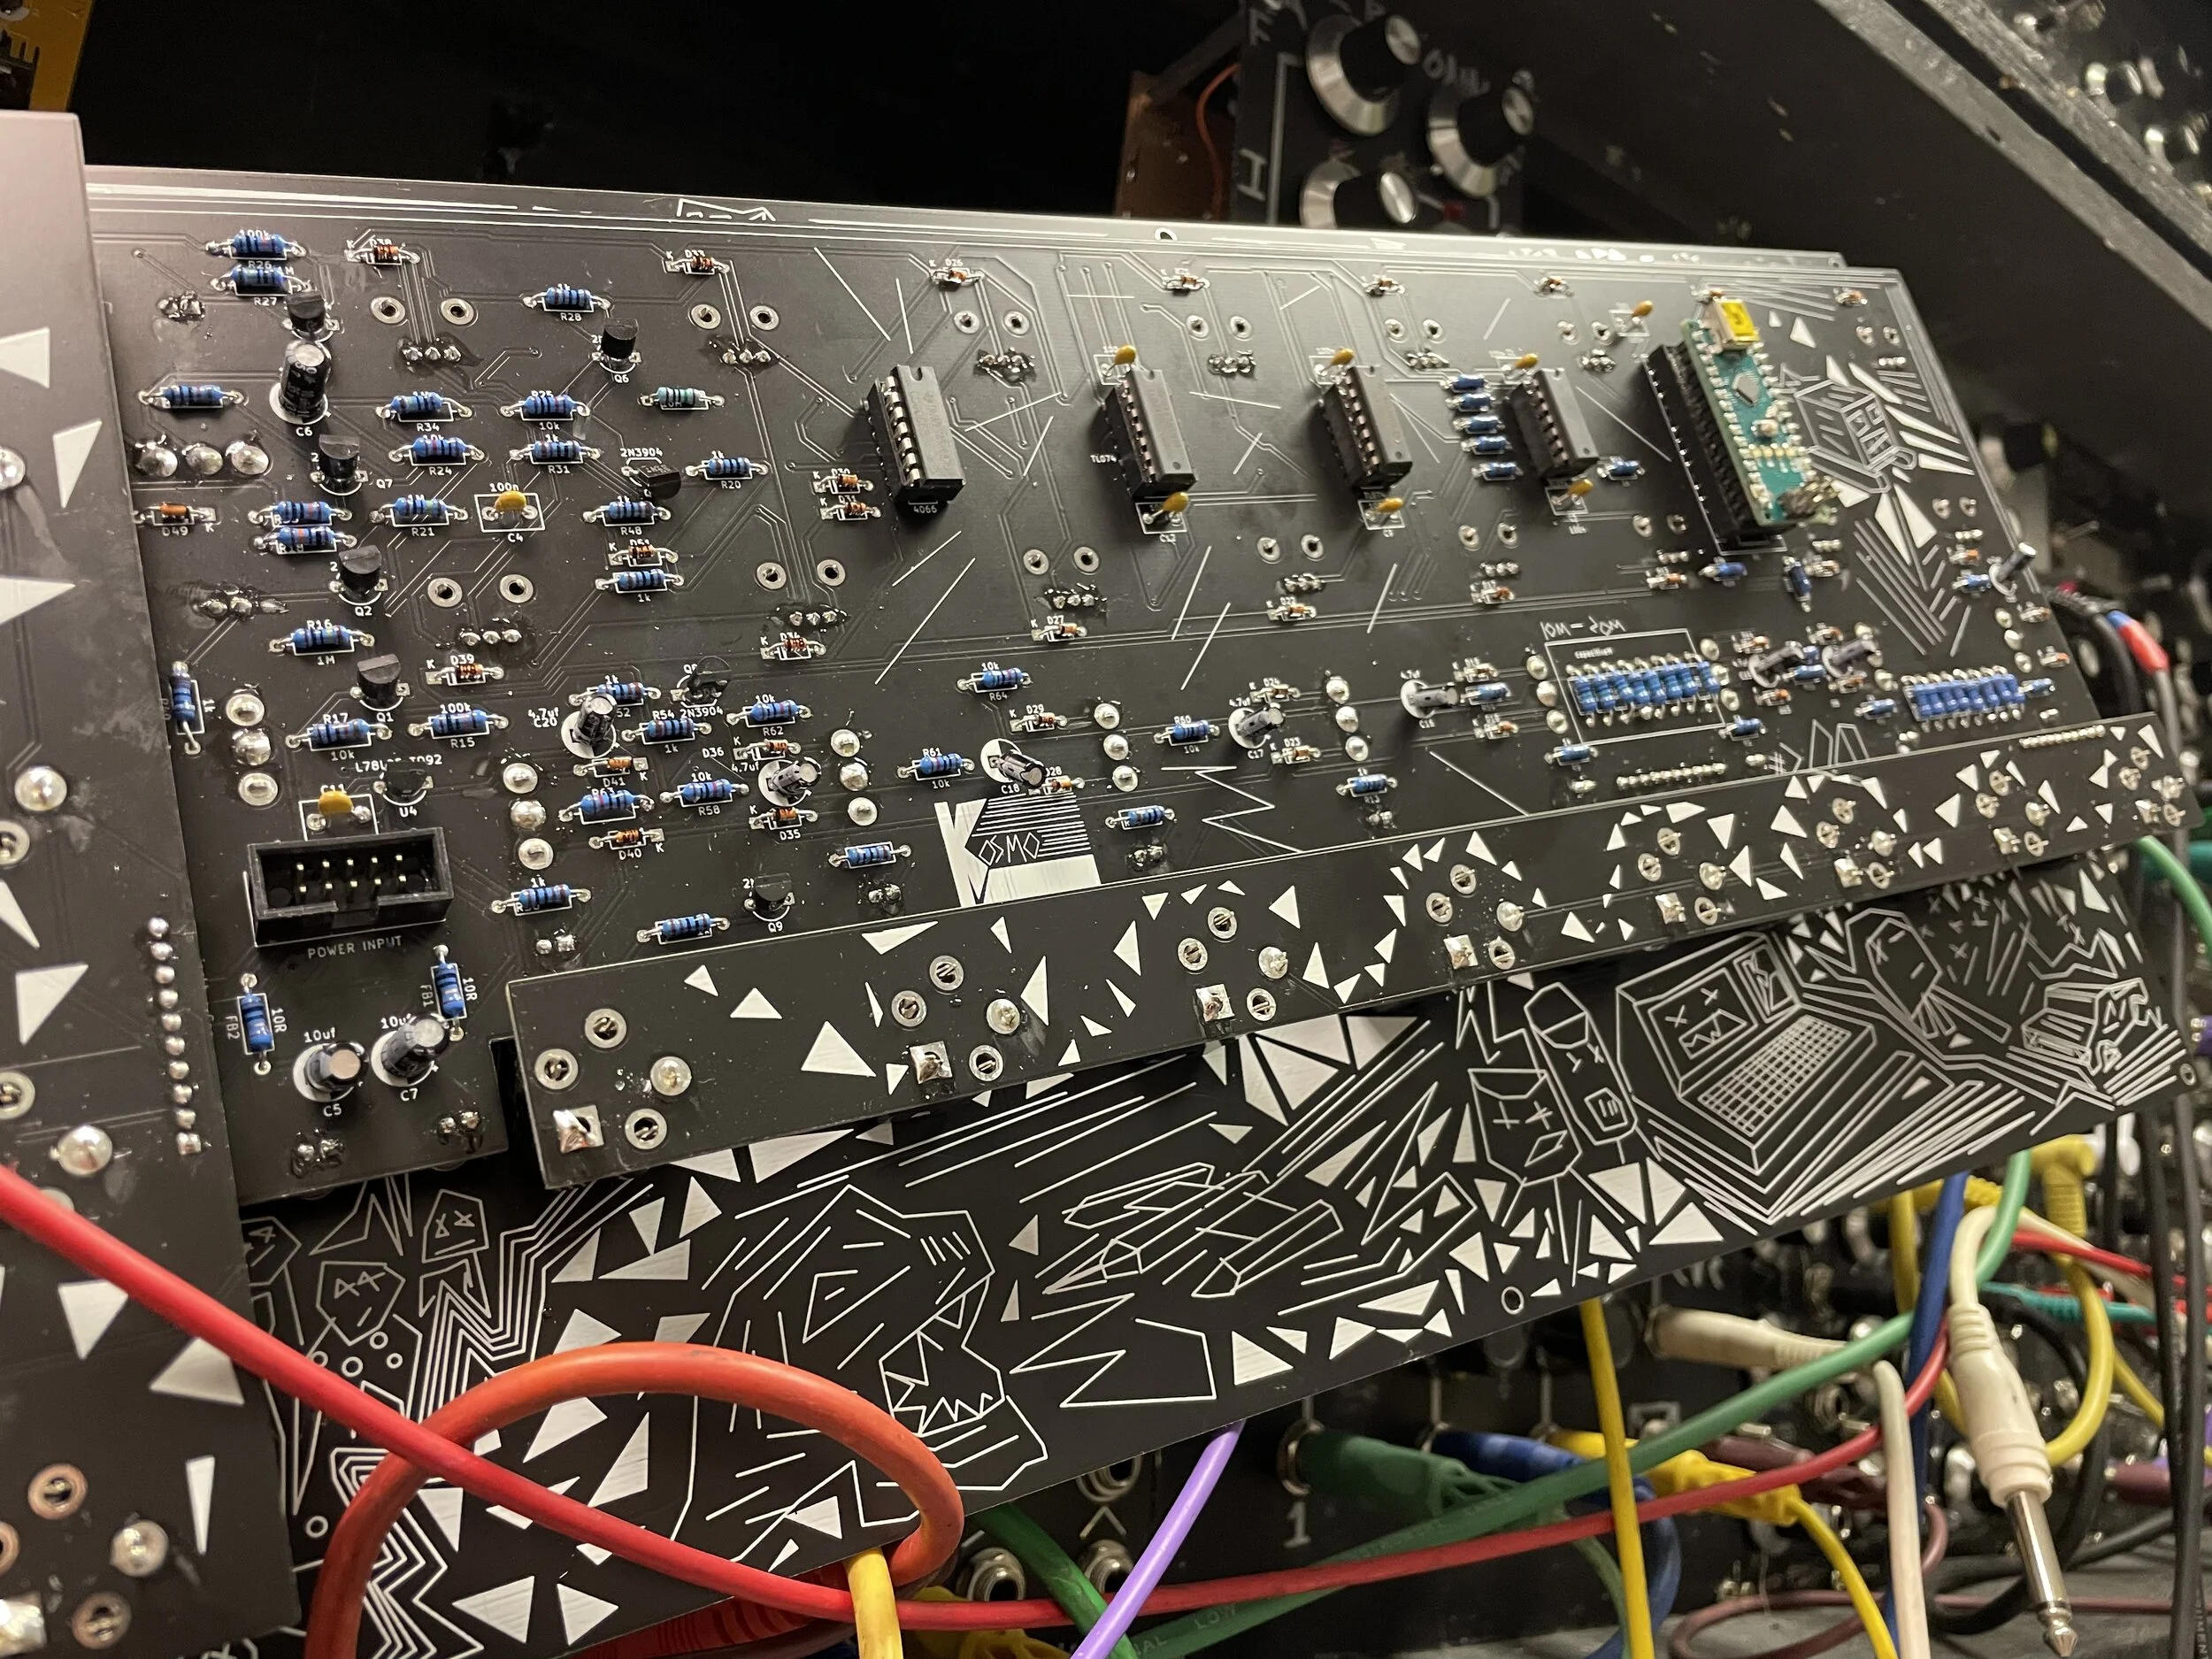
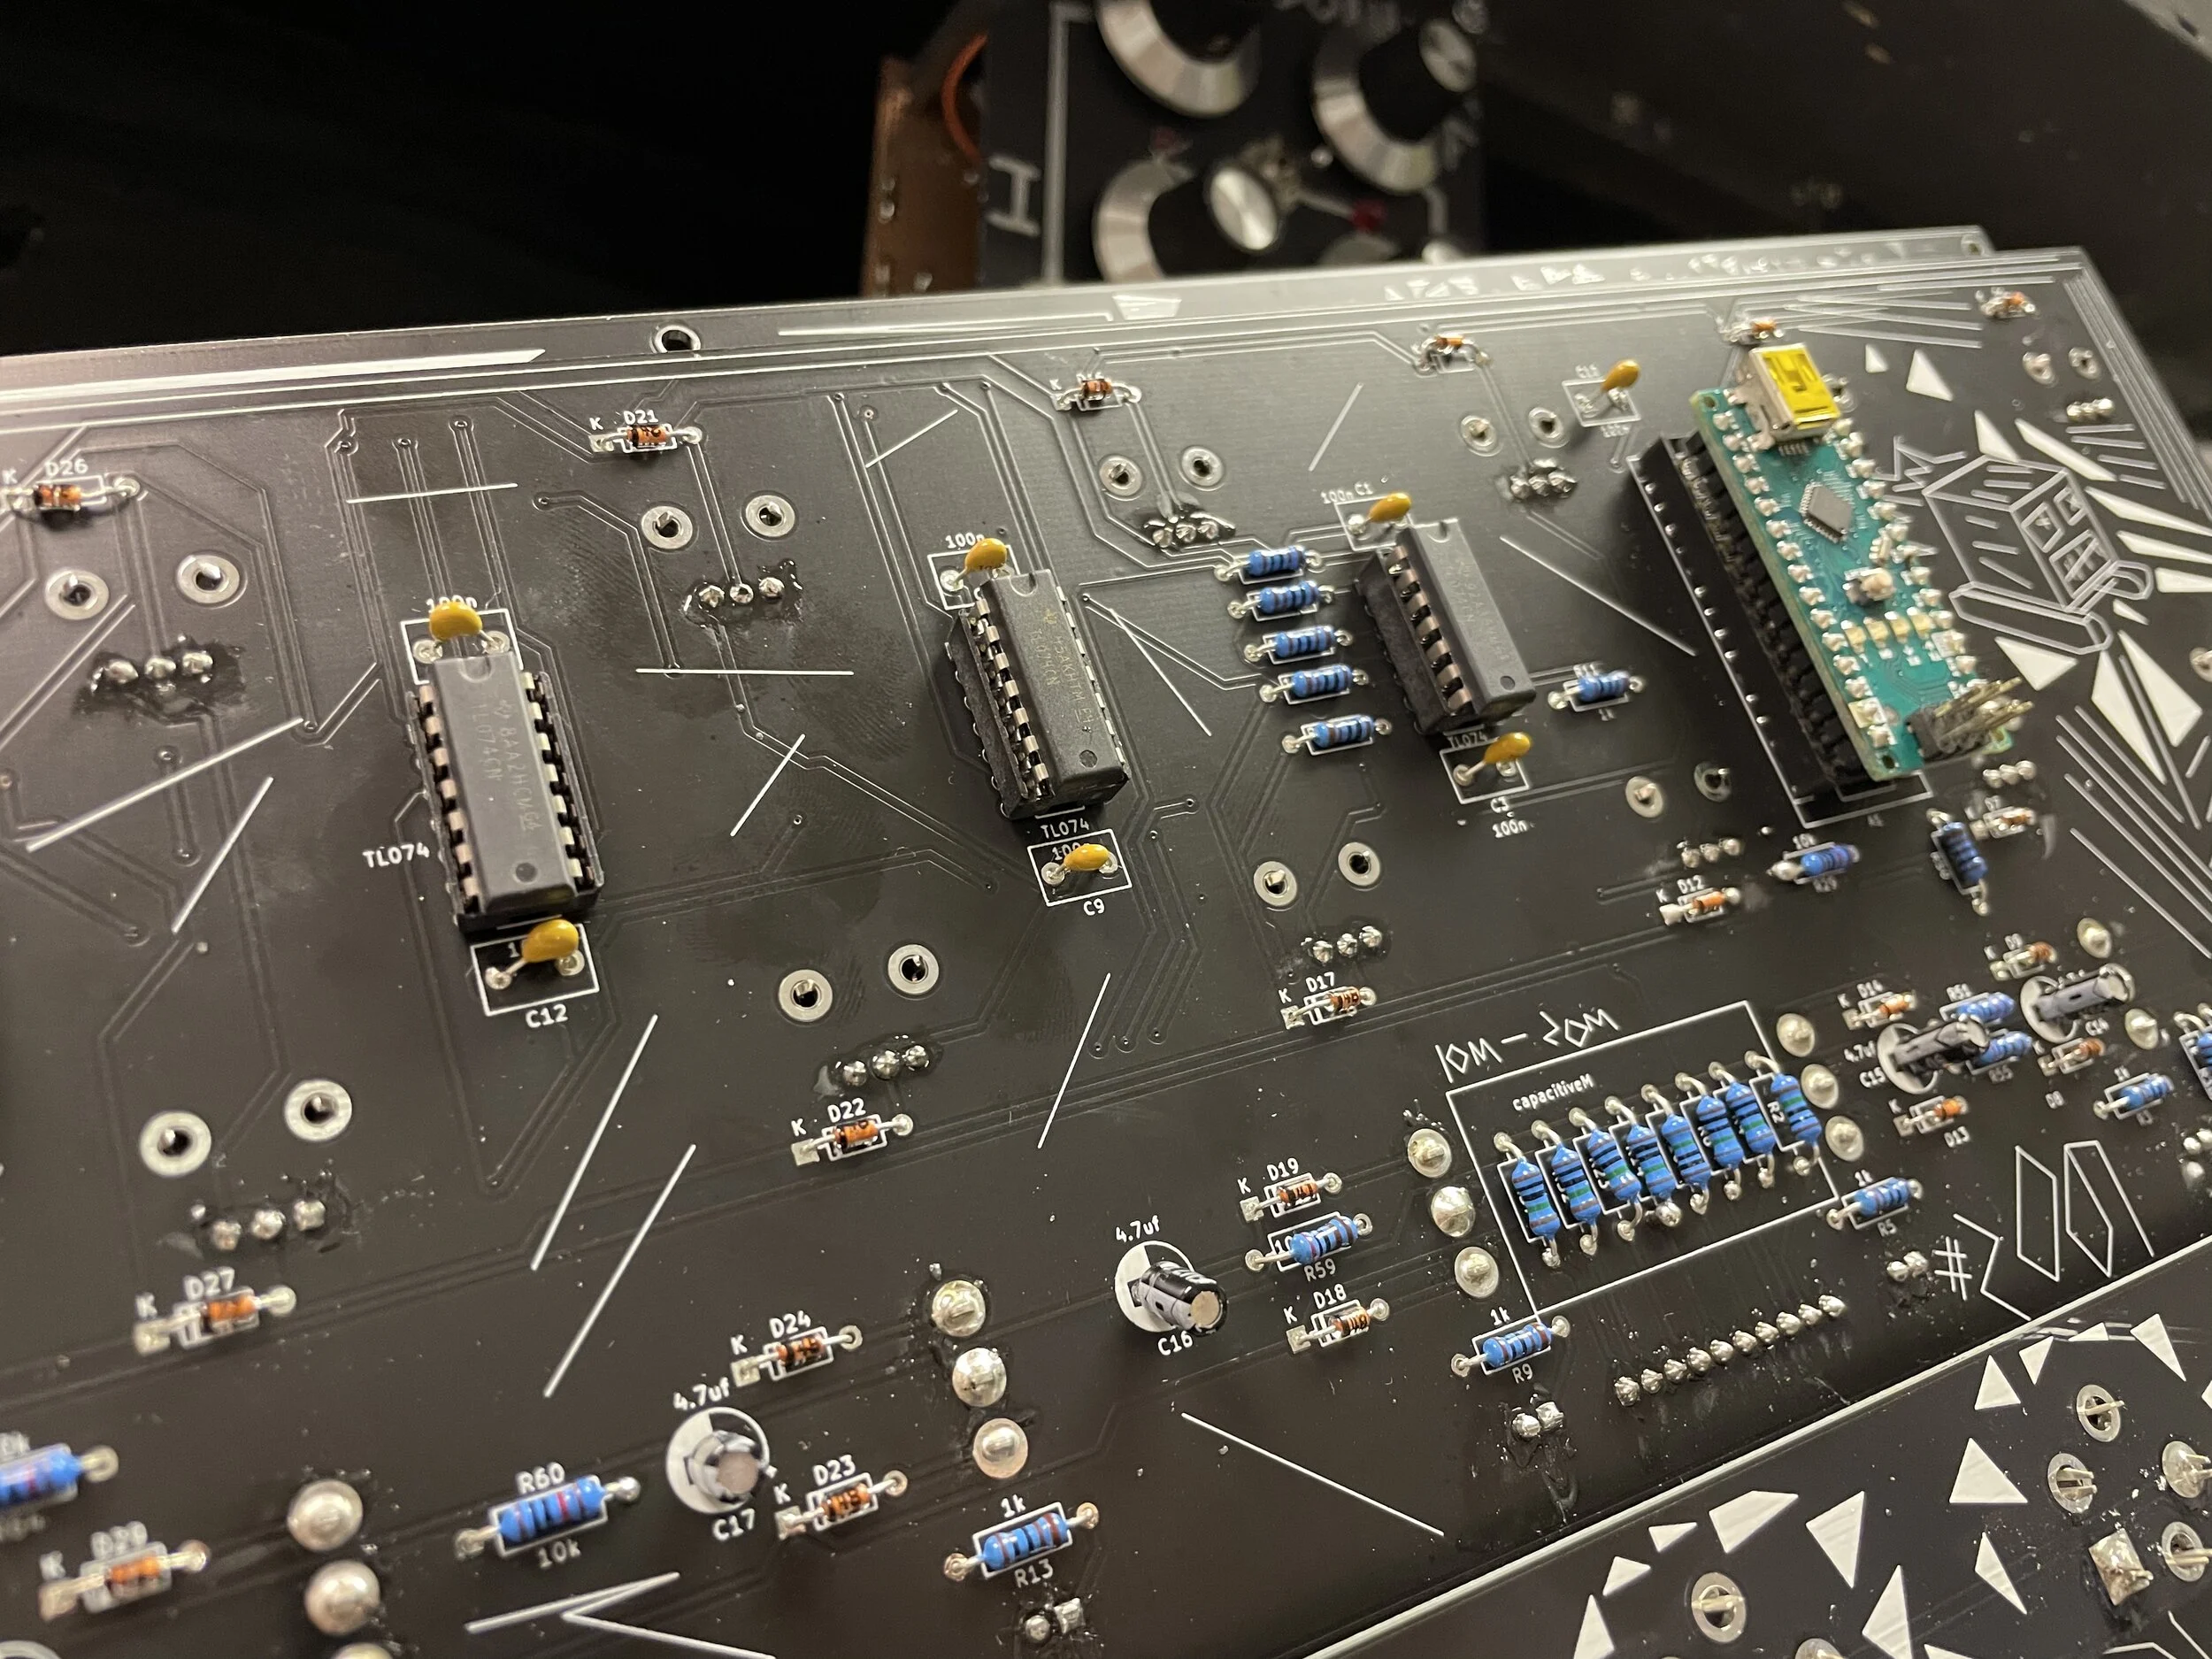
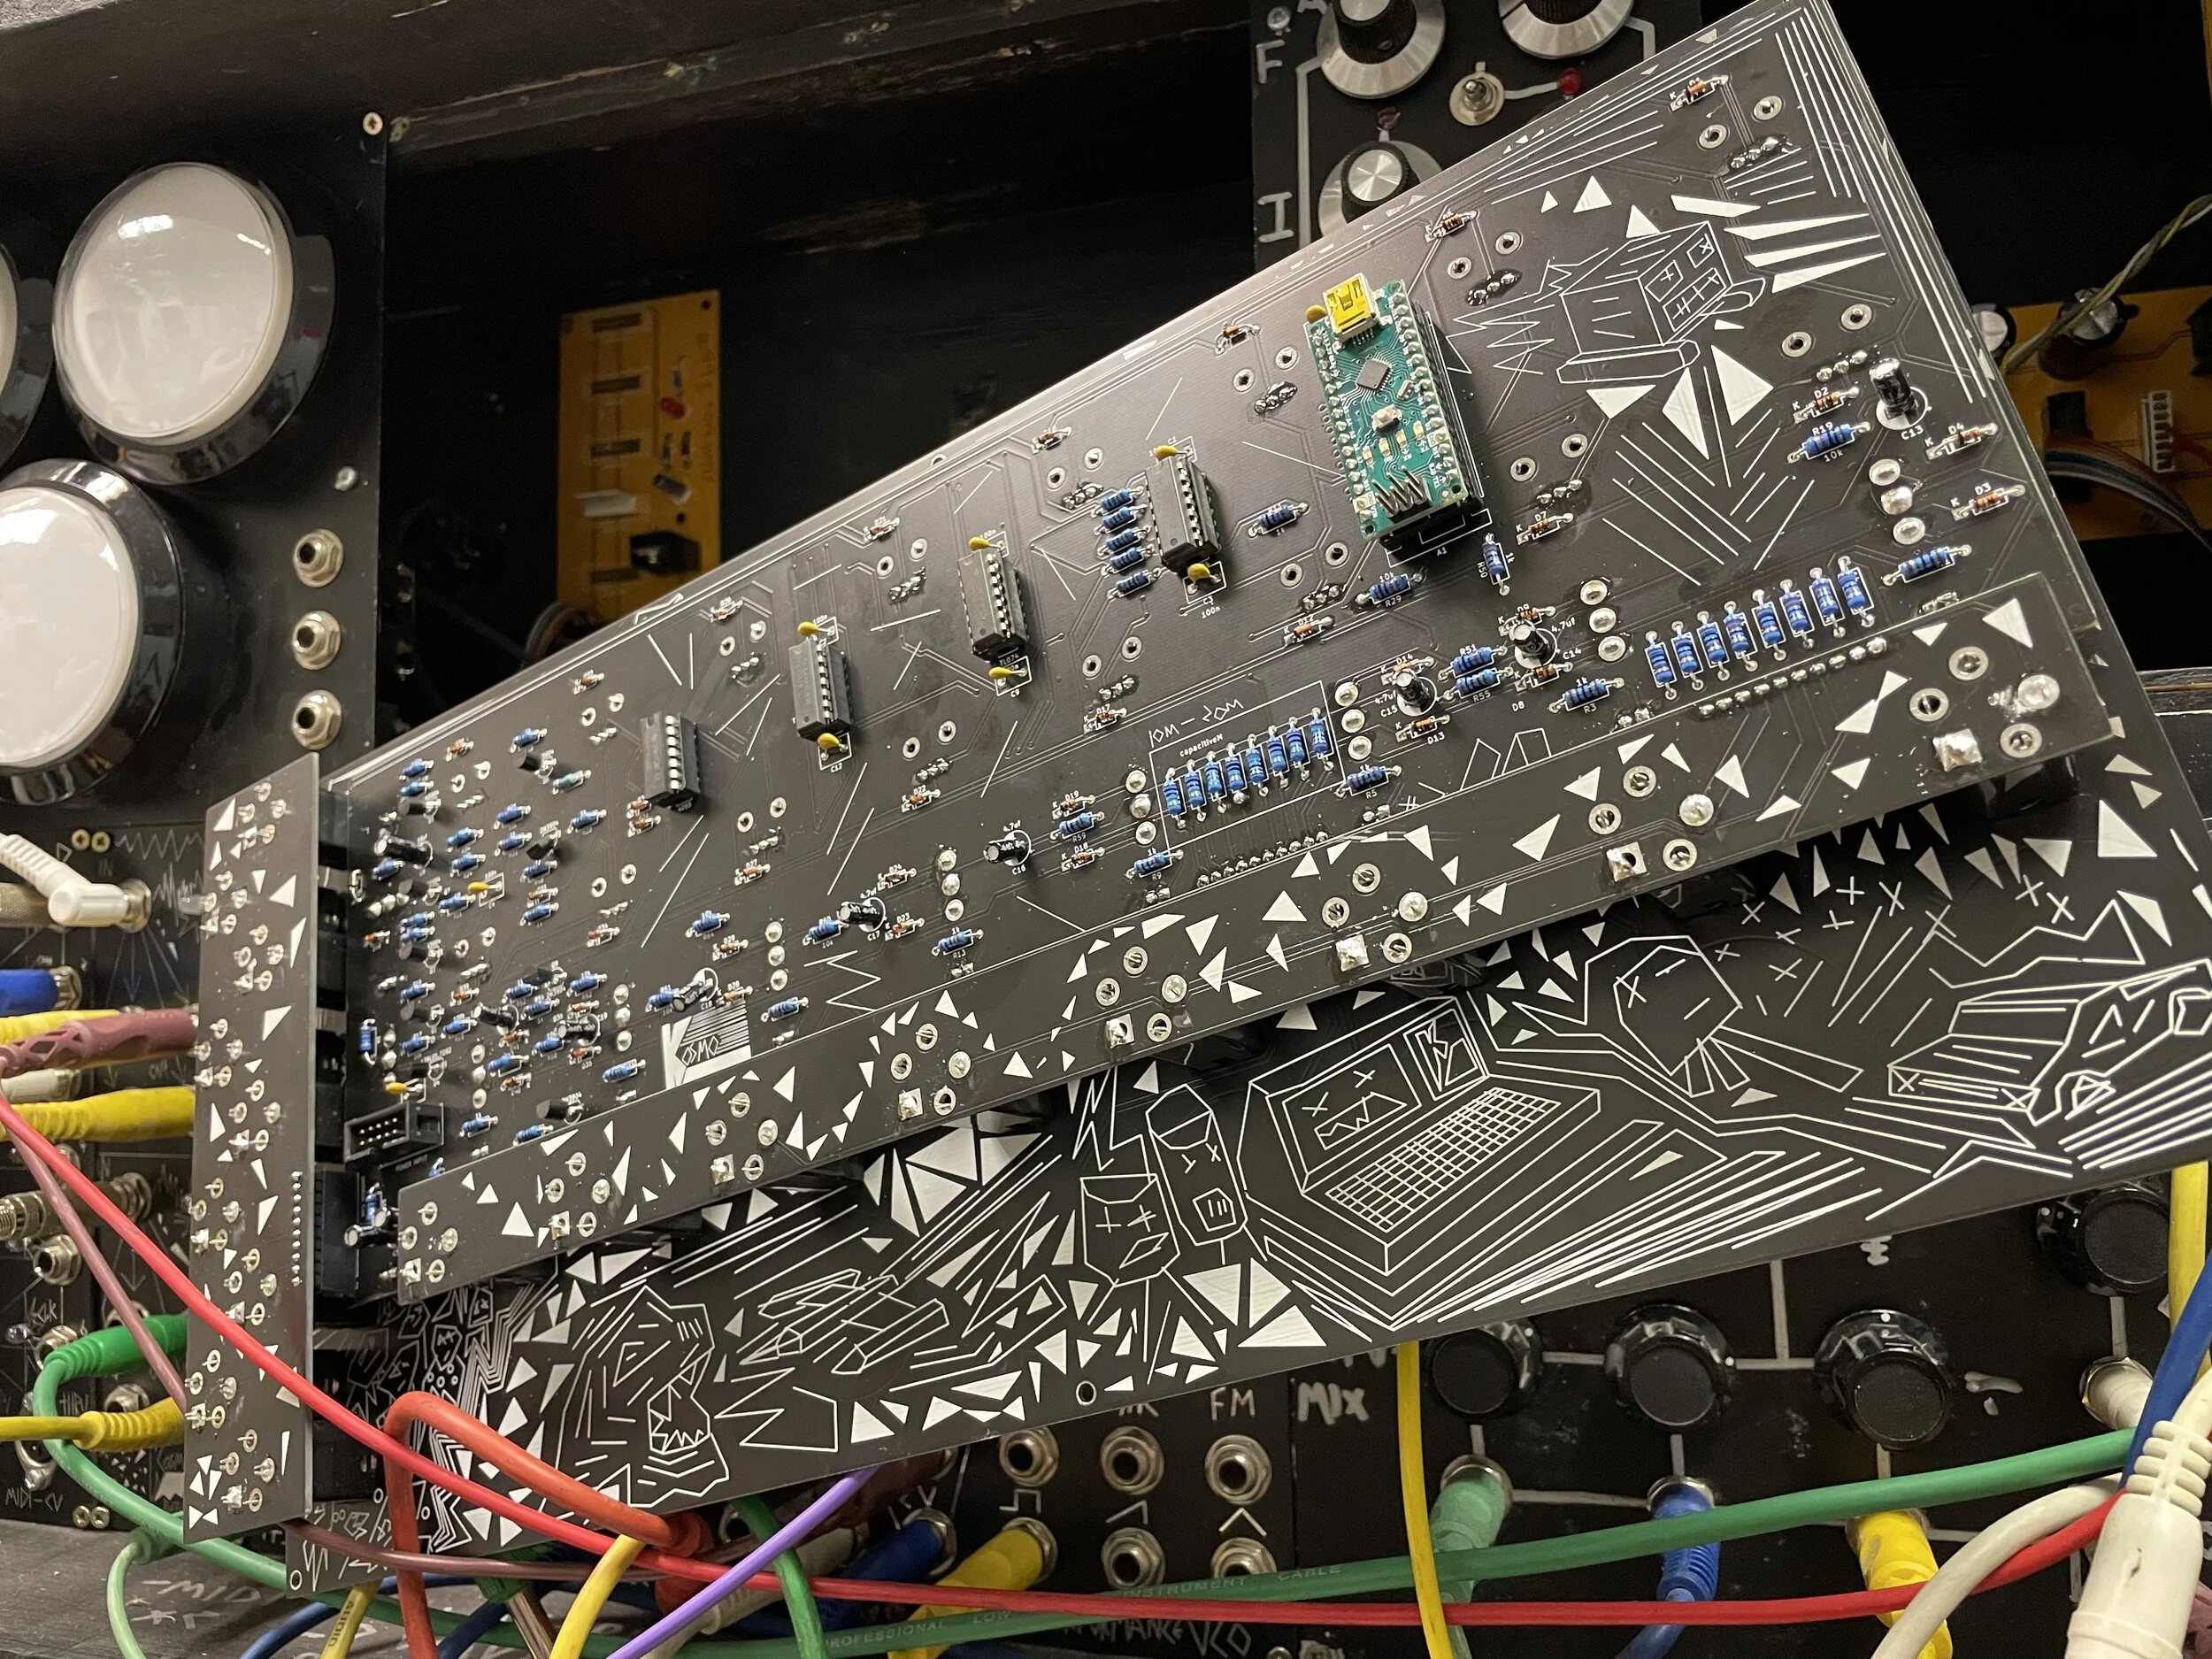
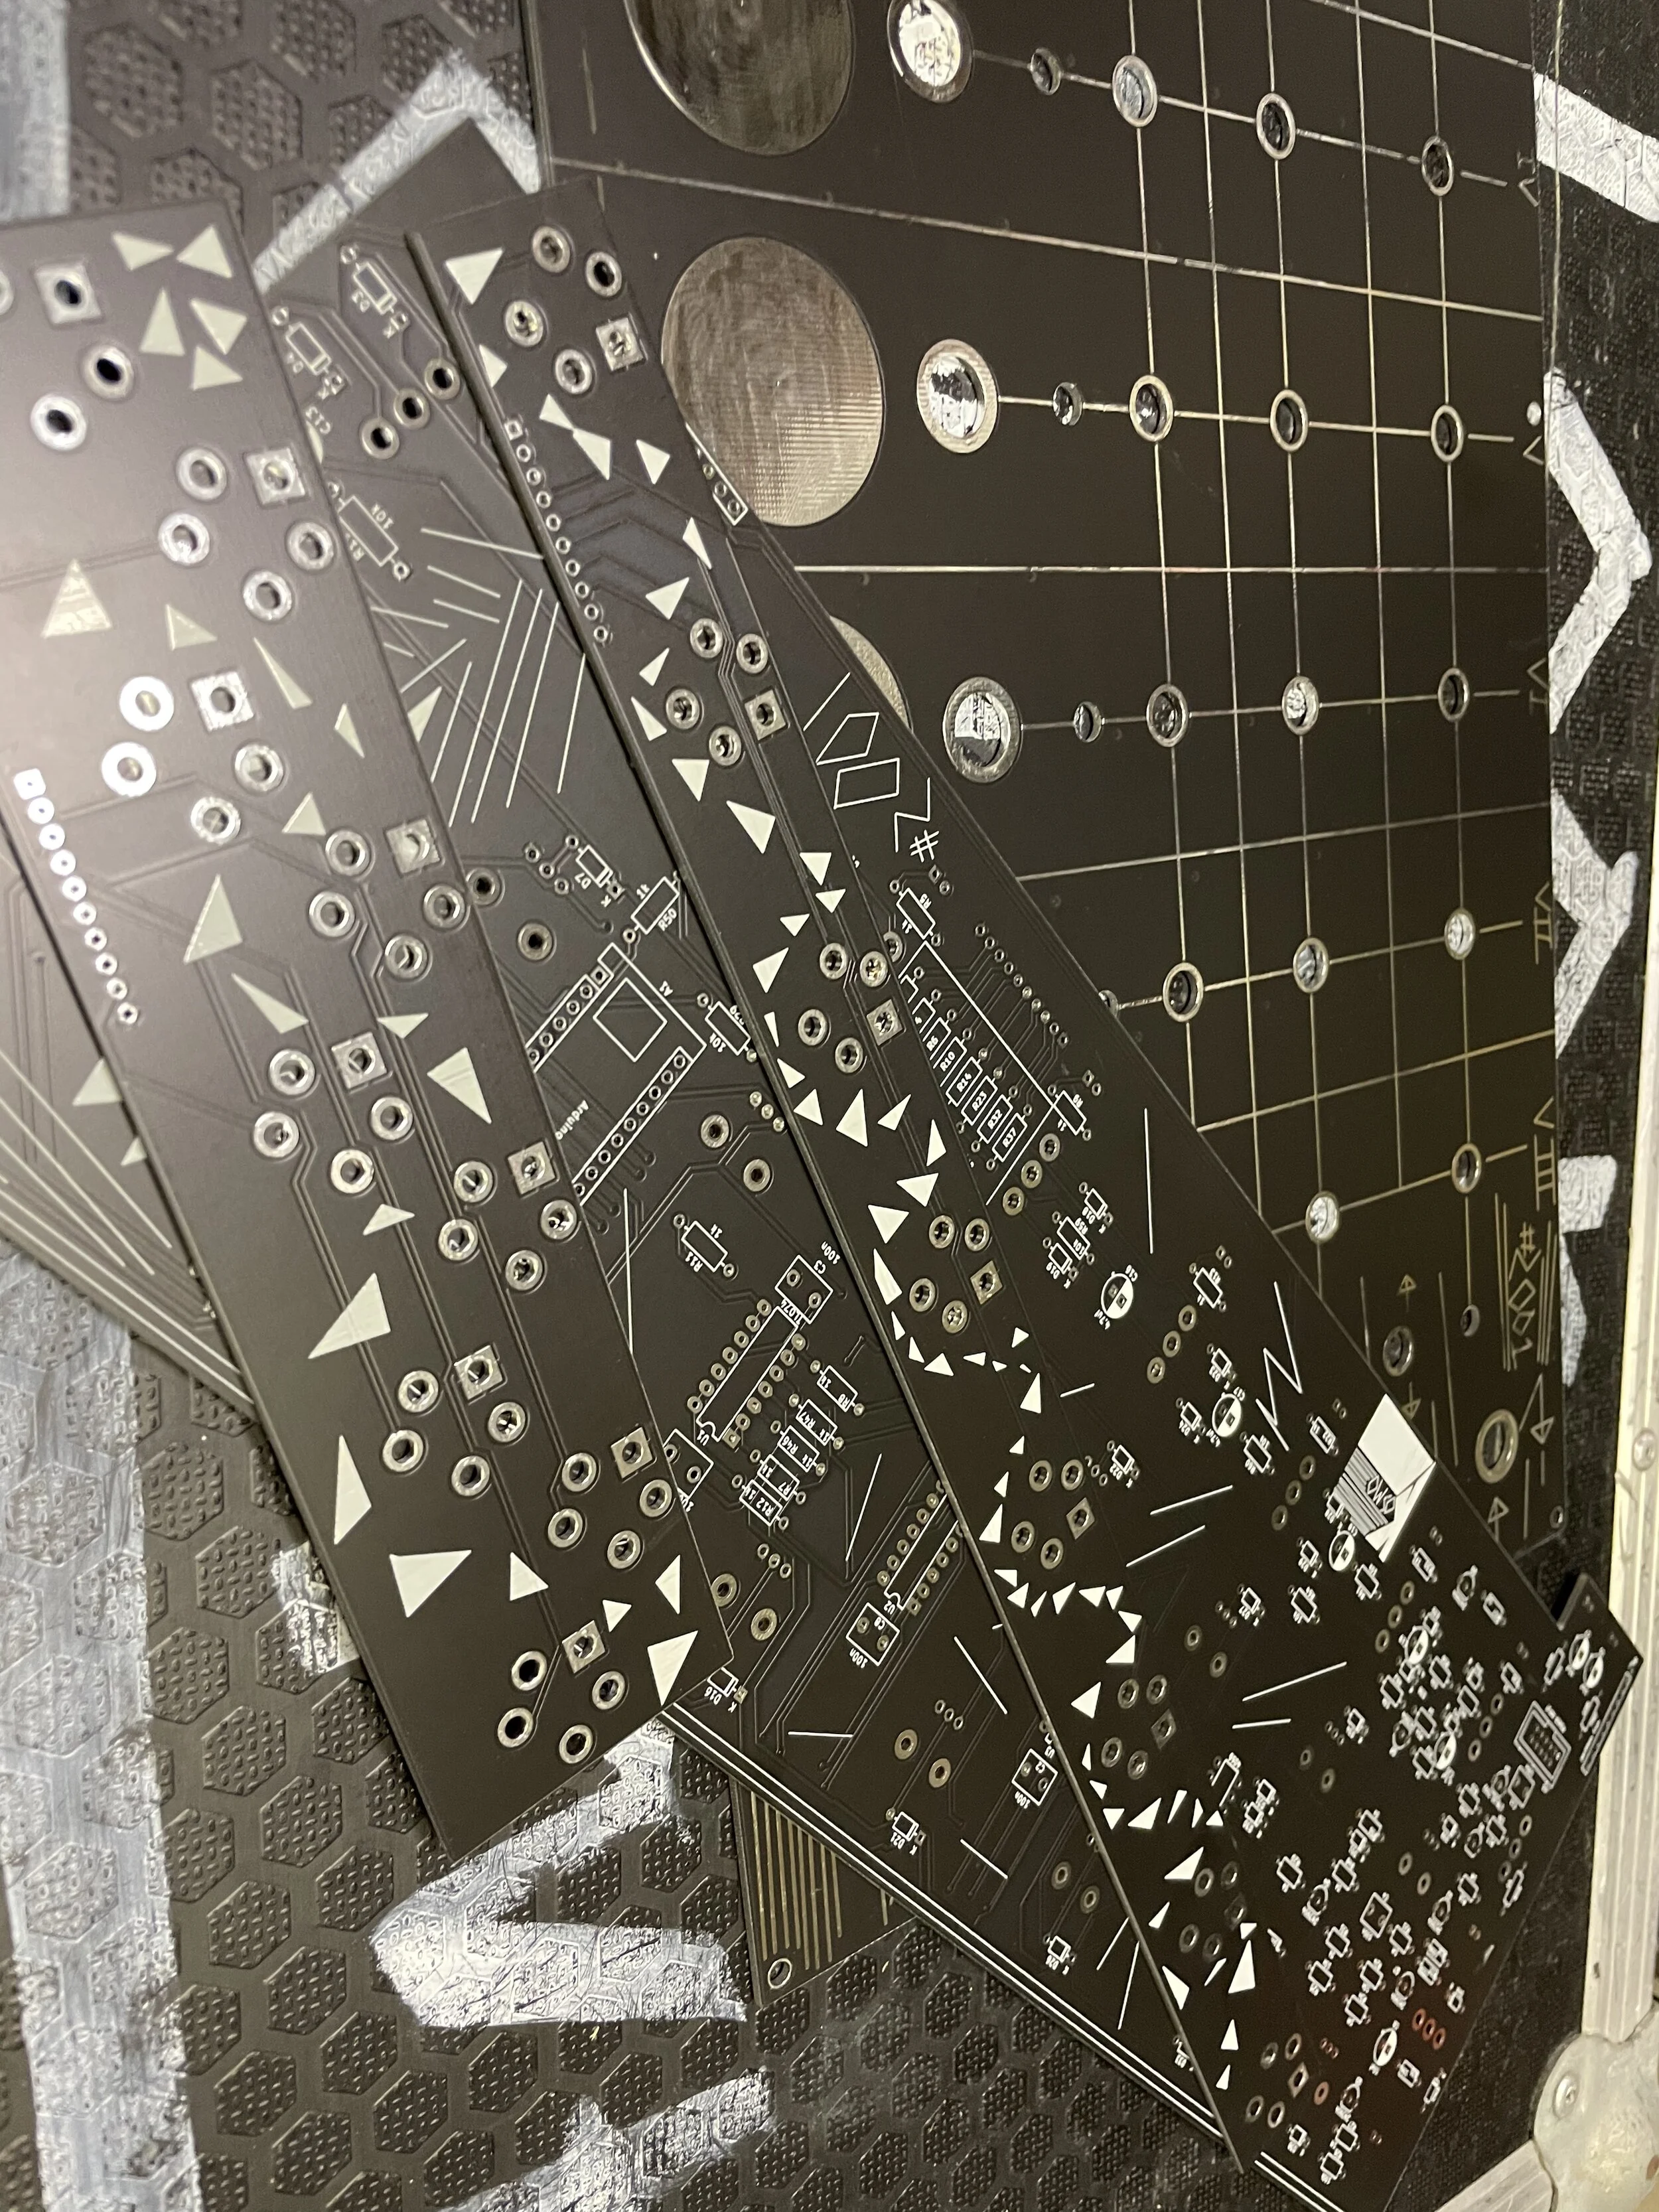
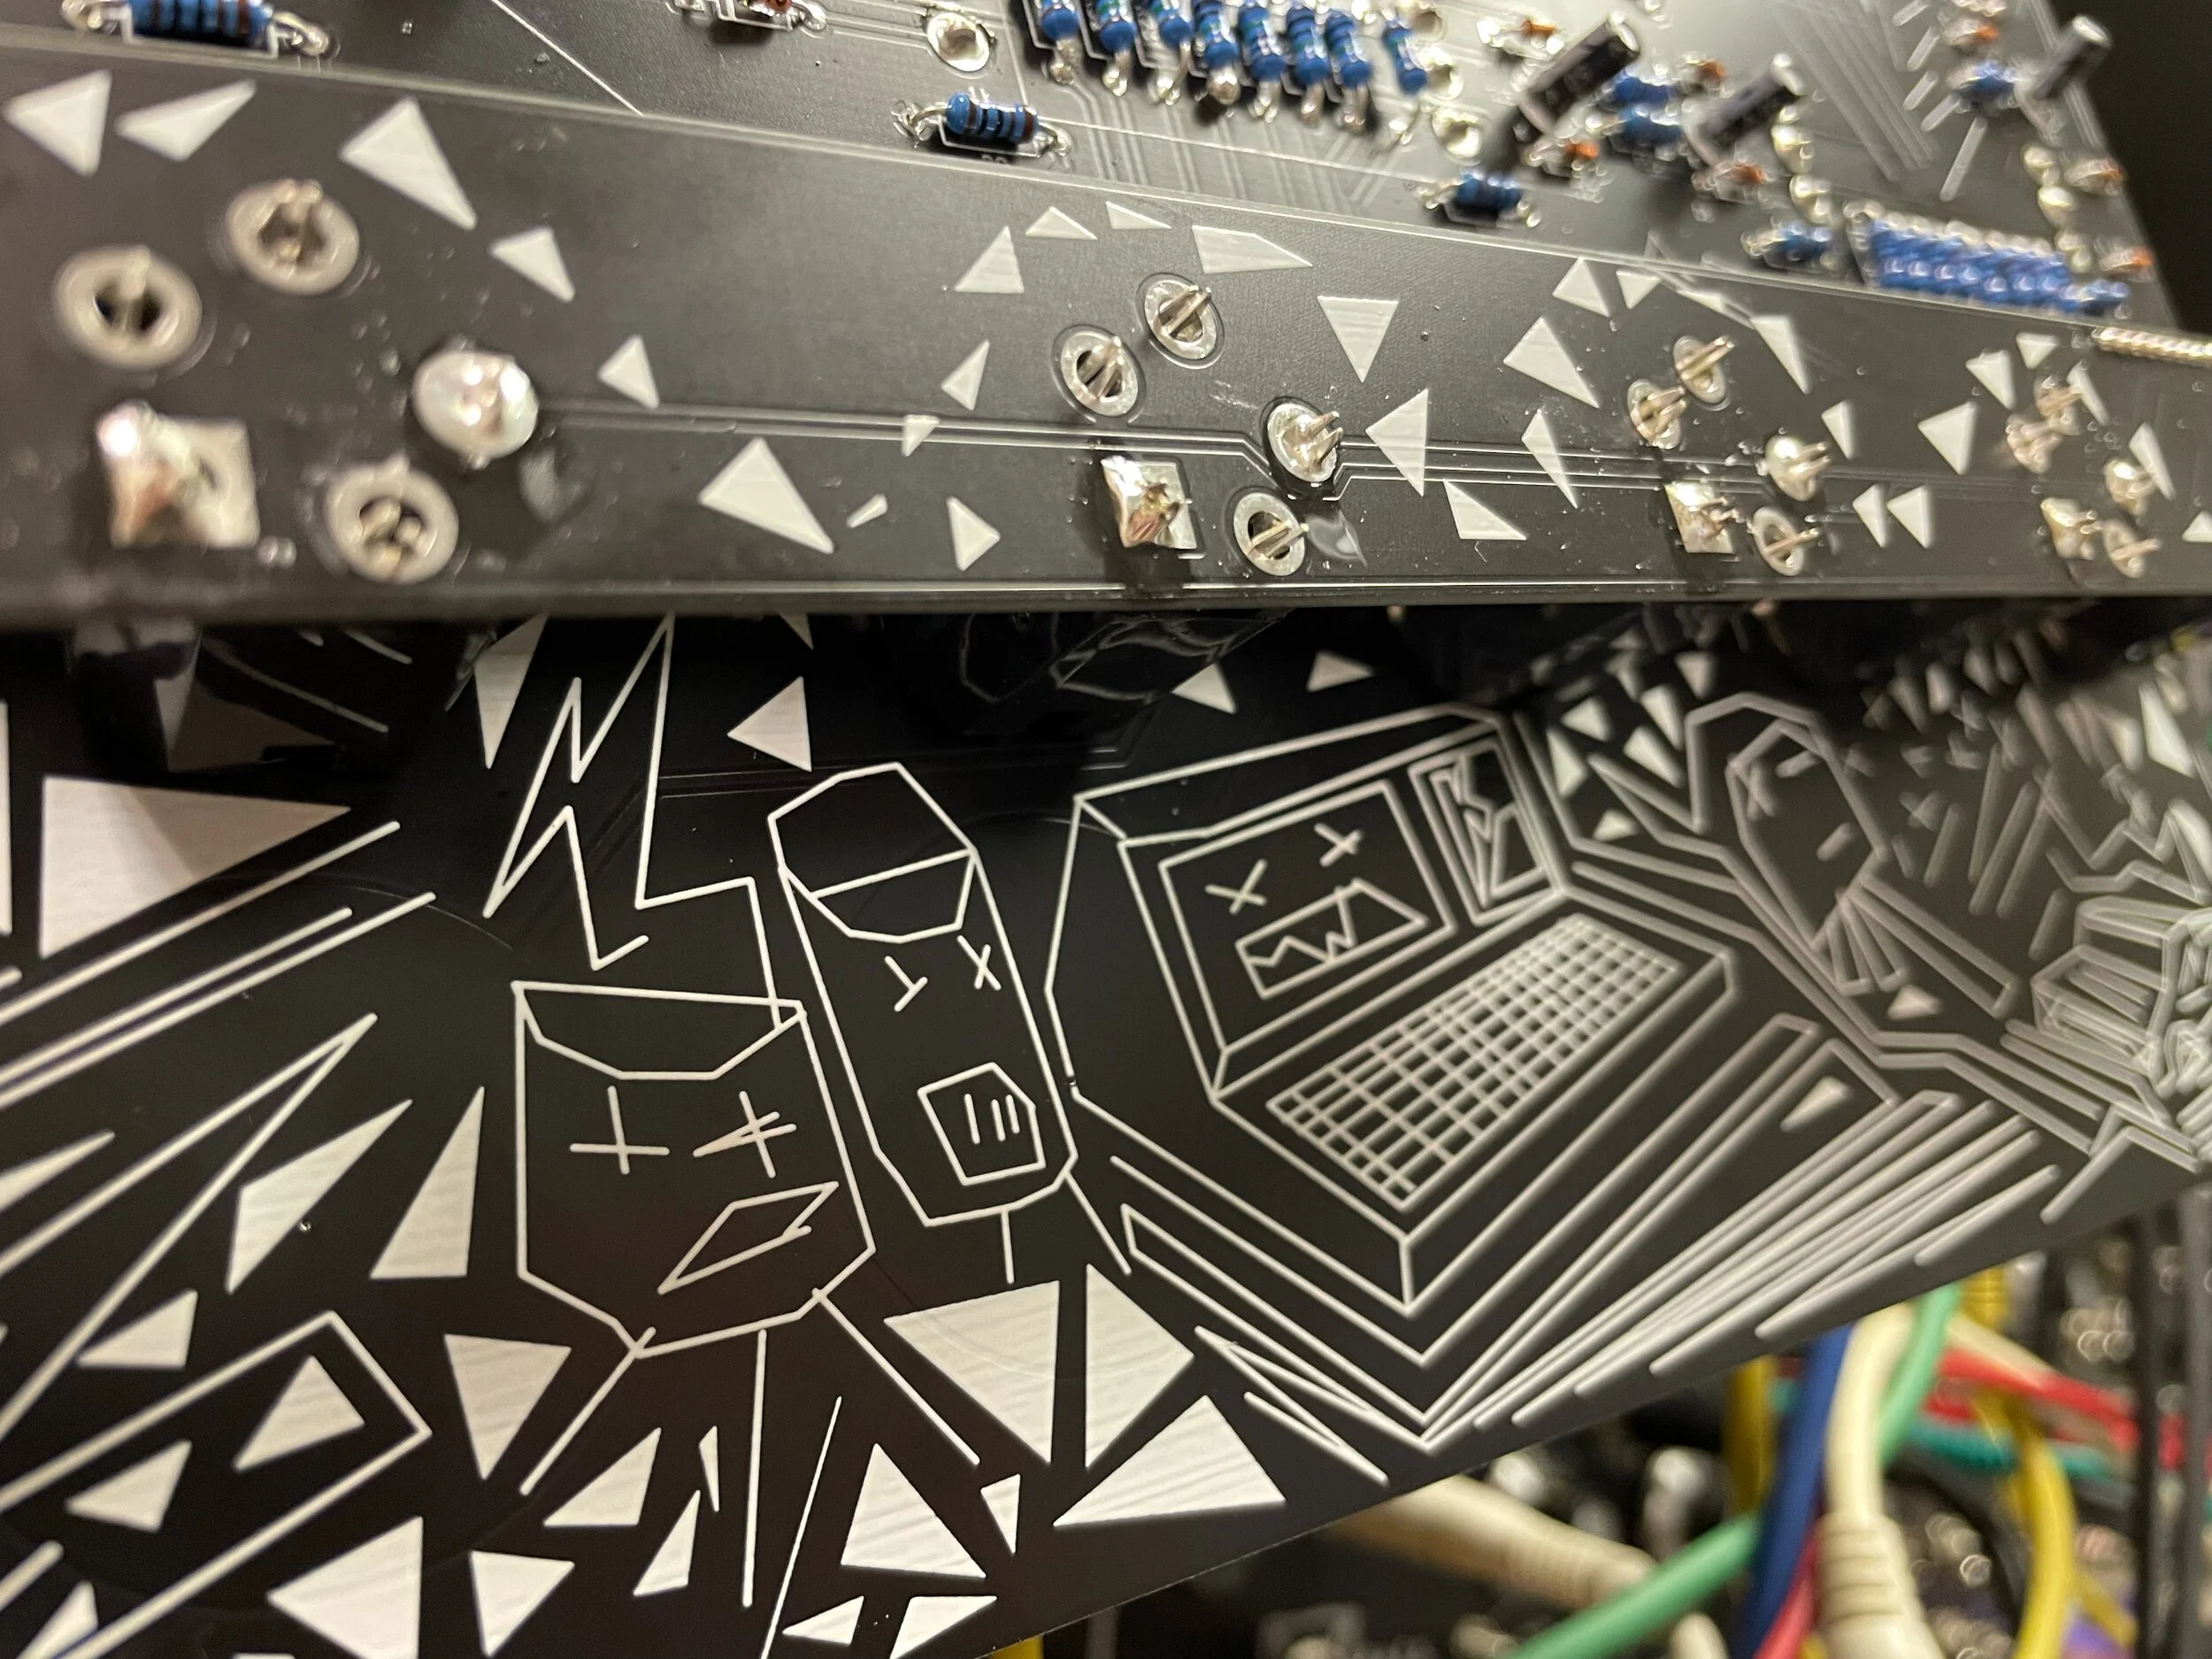
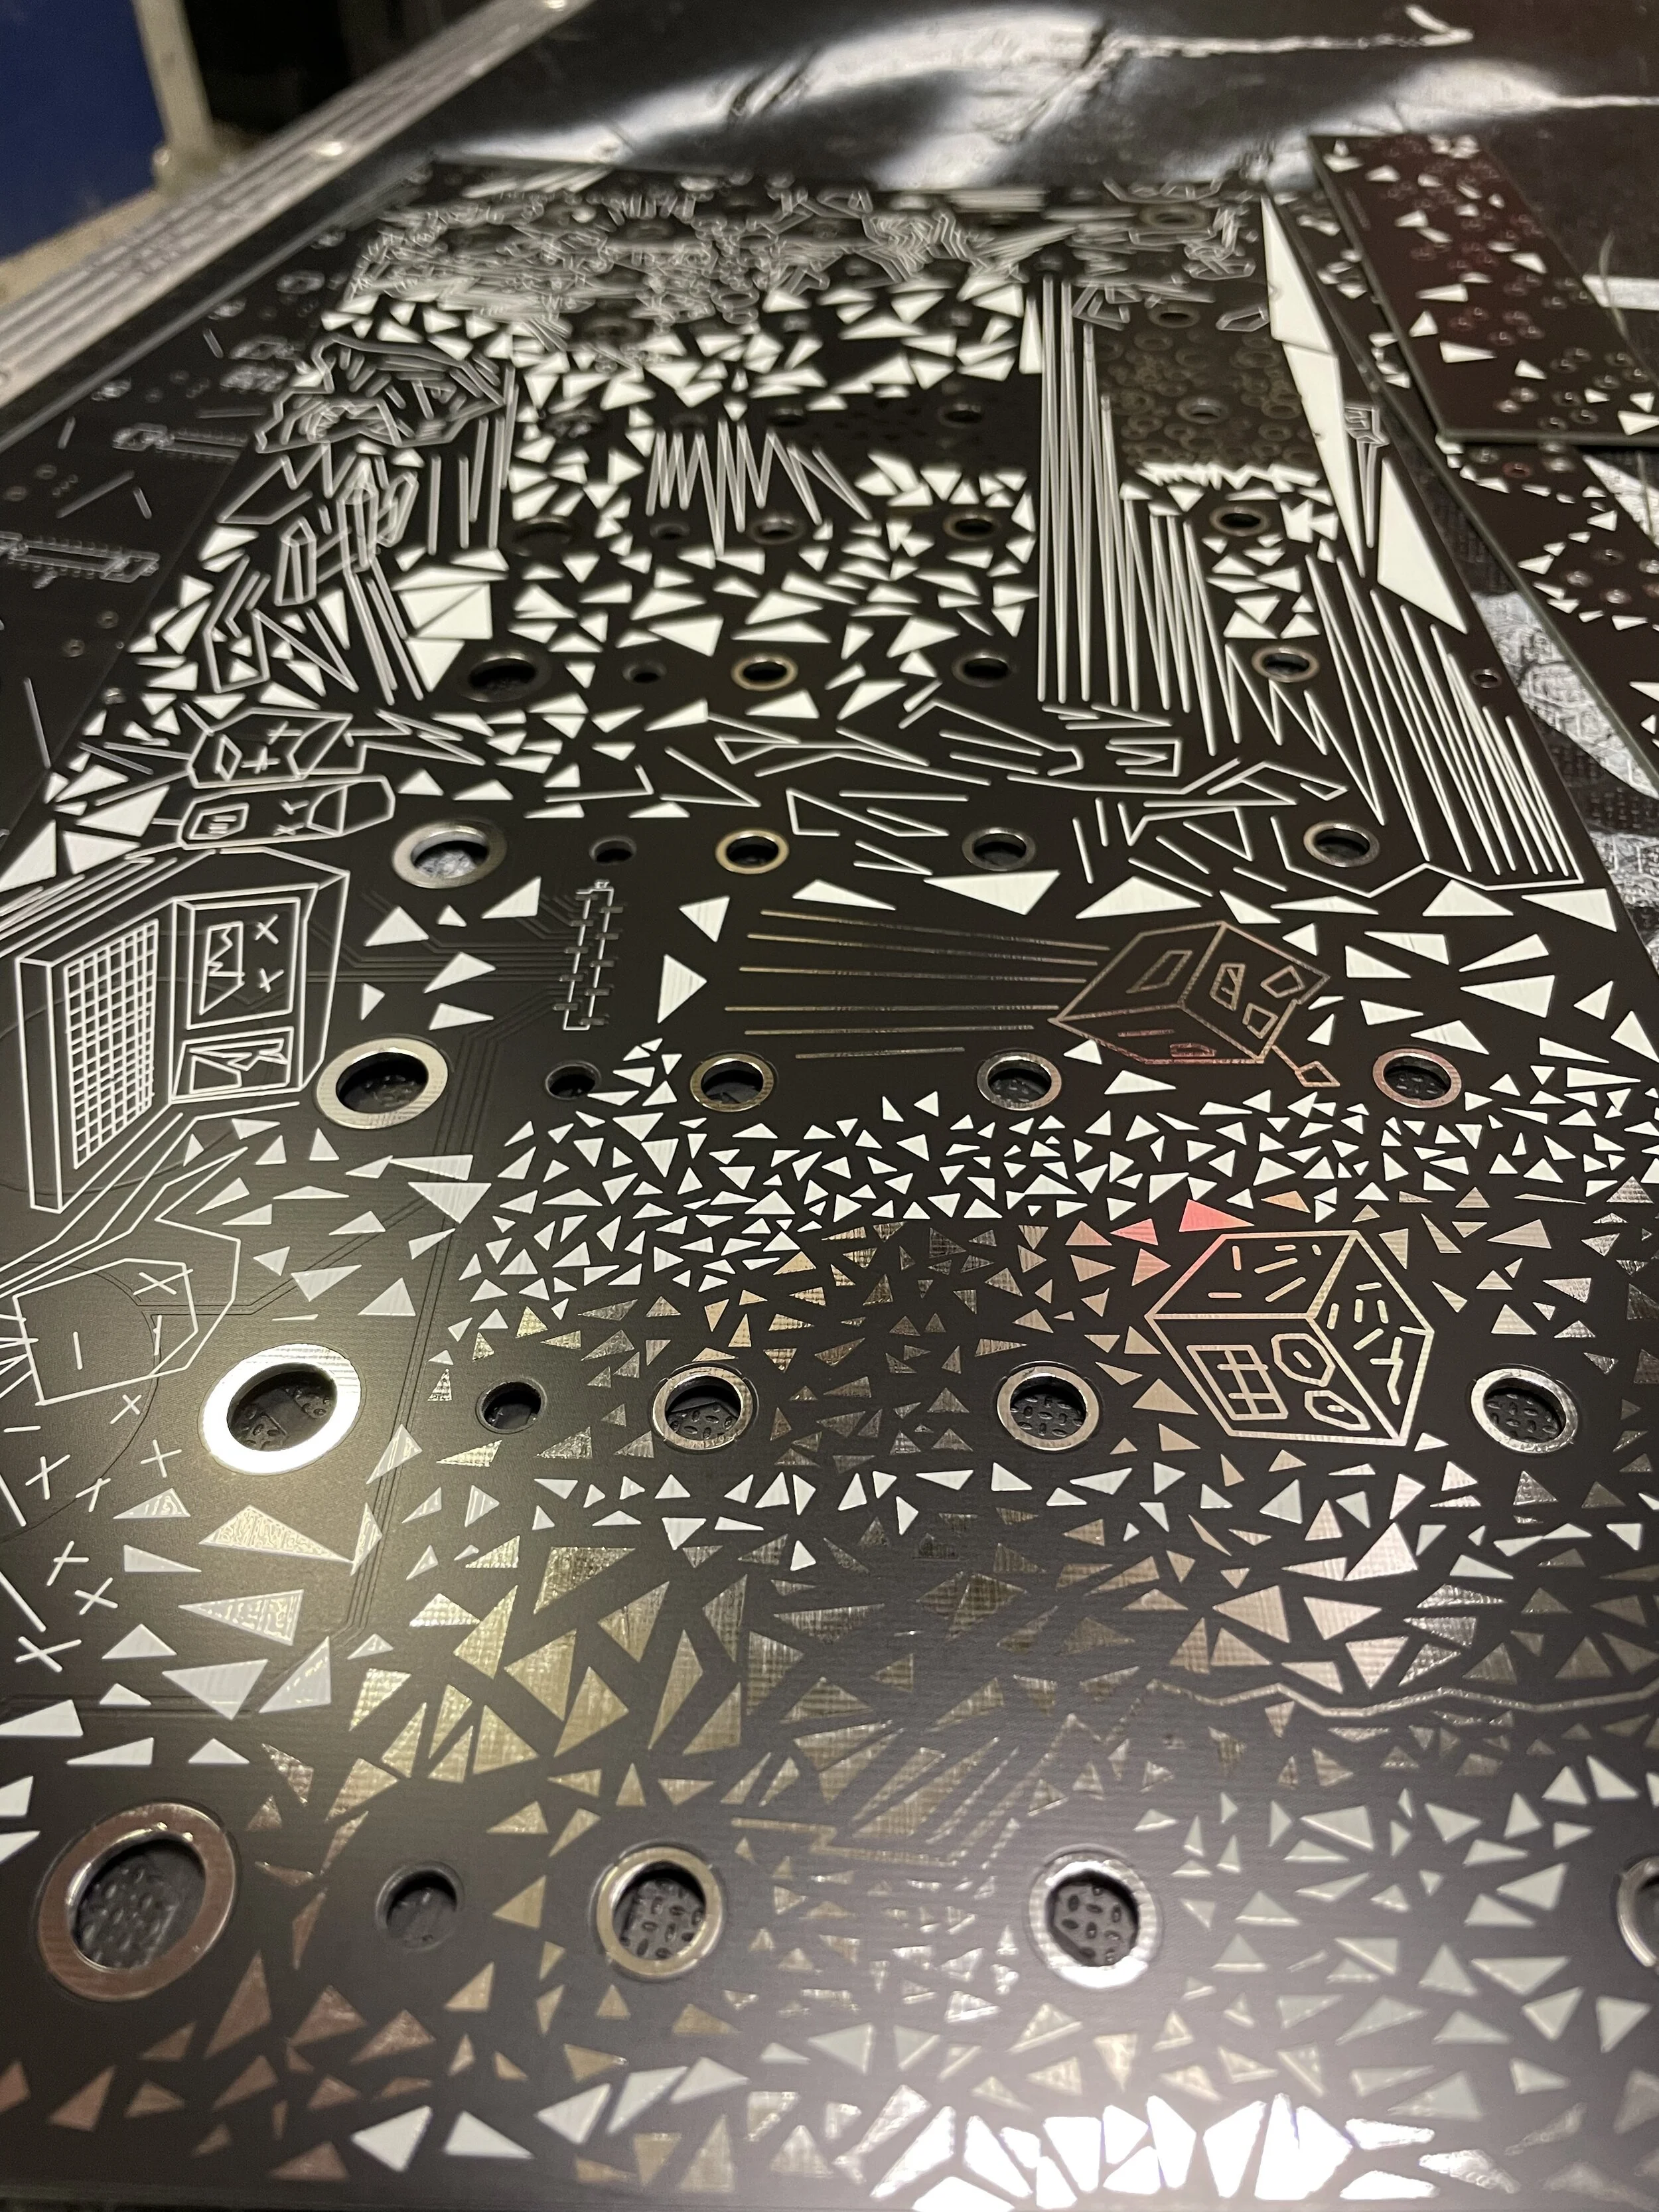
This is an updated version of the Keyboard Sequencer DIY project from a couple of years ago, the biggest difference is the fact it is a PCB project in Kosmo format however there are other changes. PCB/PANEL AVAILABLE HERE
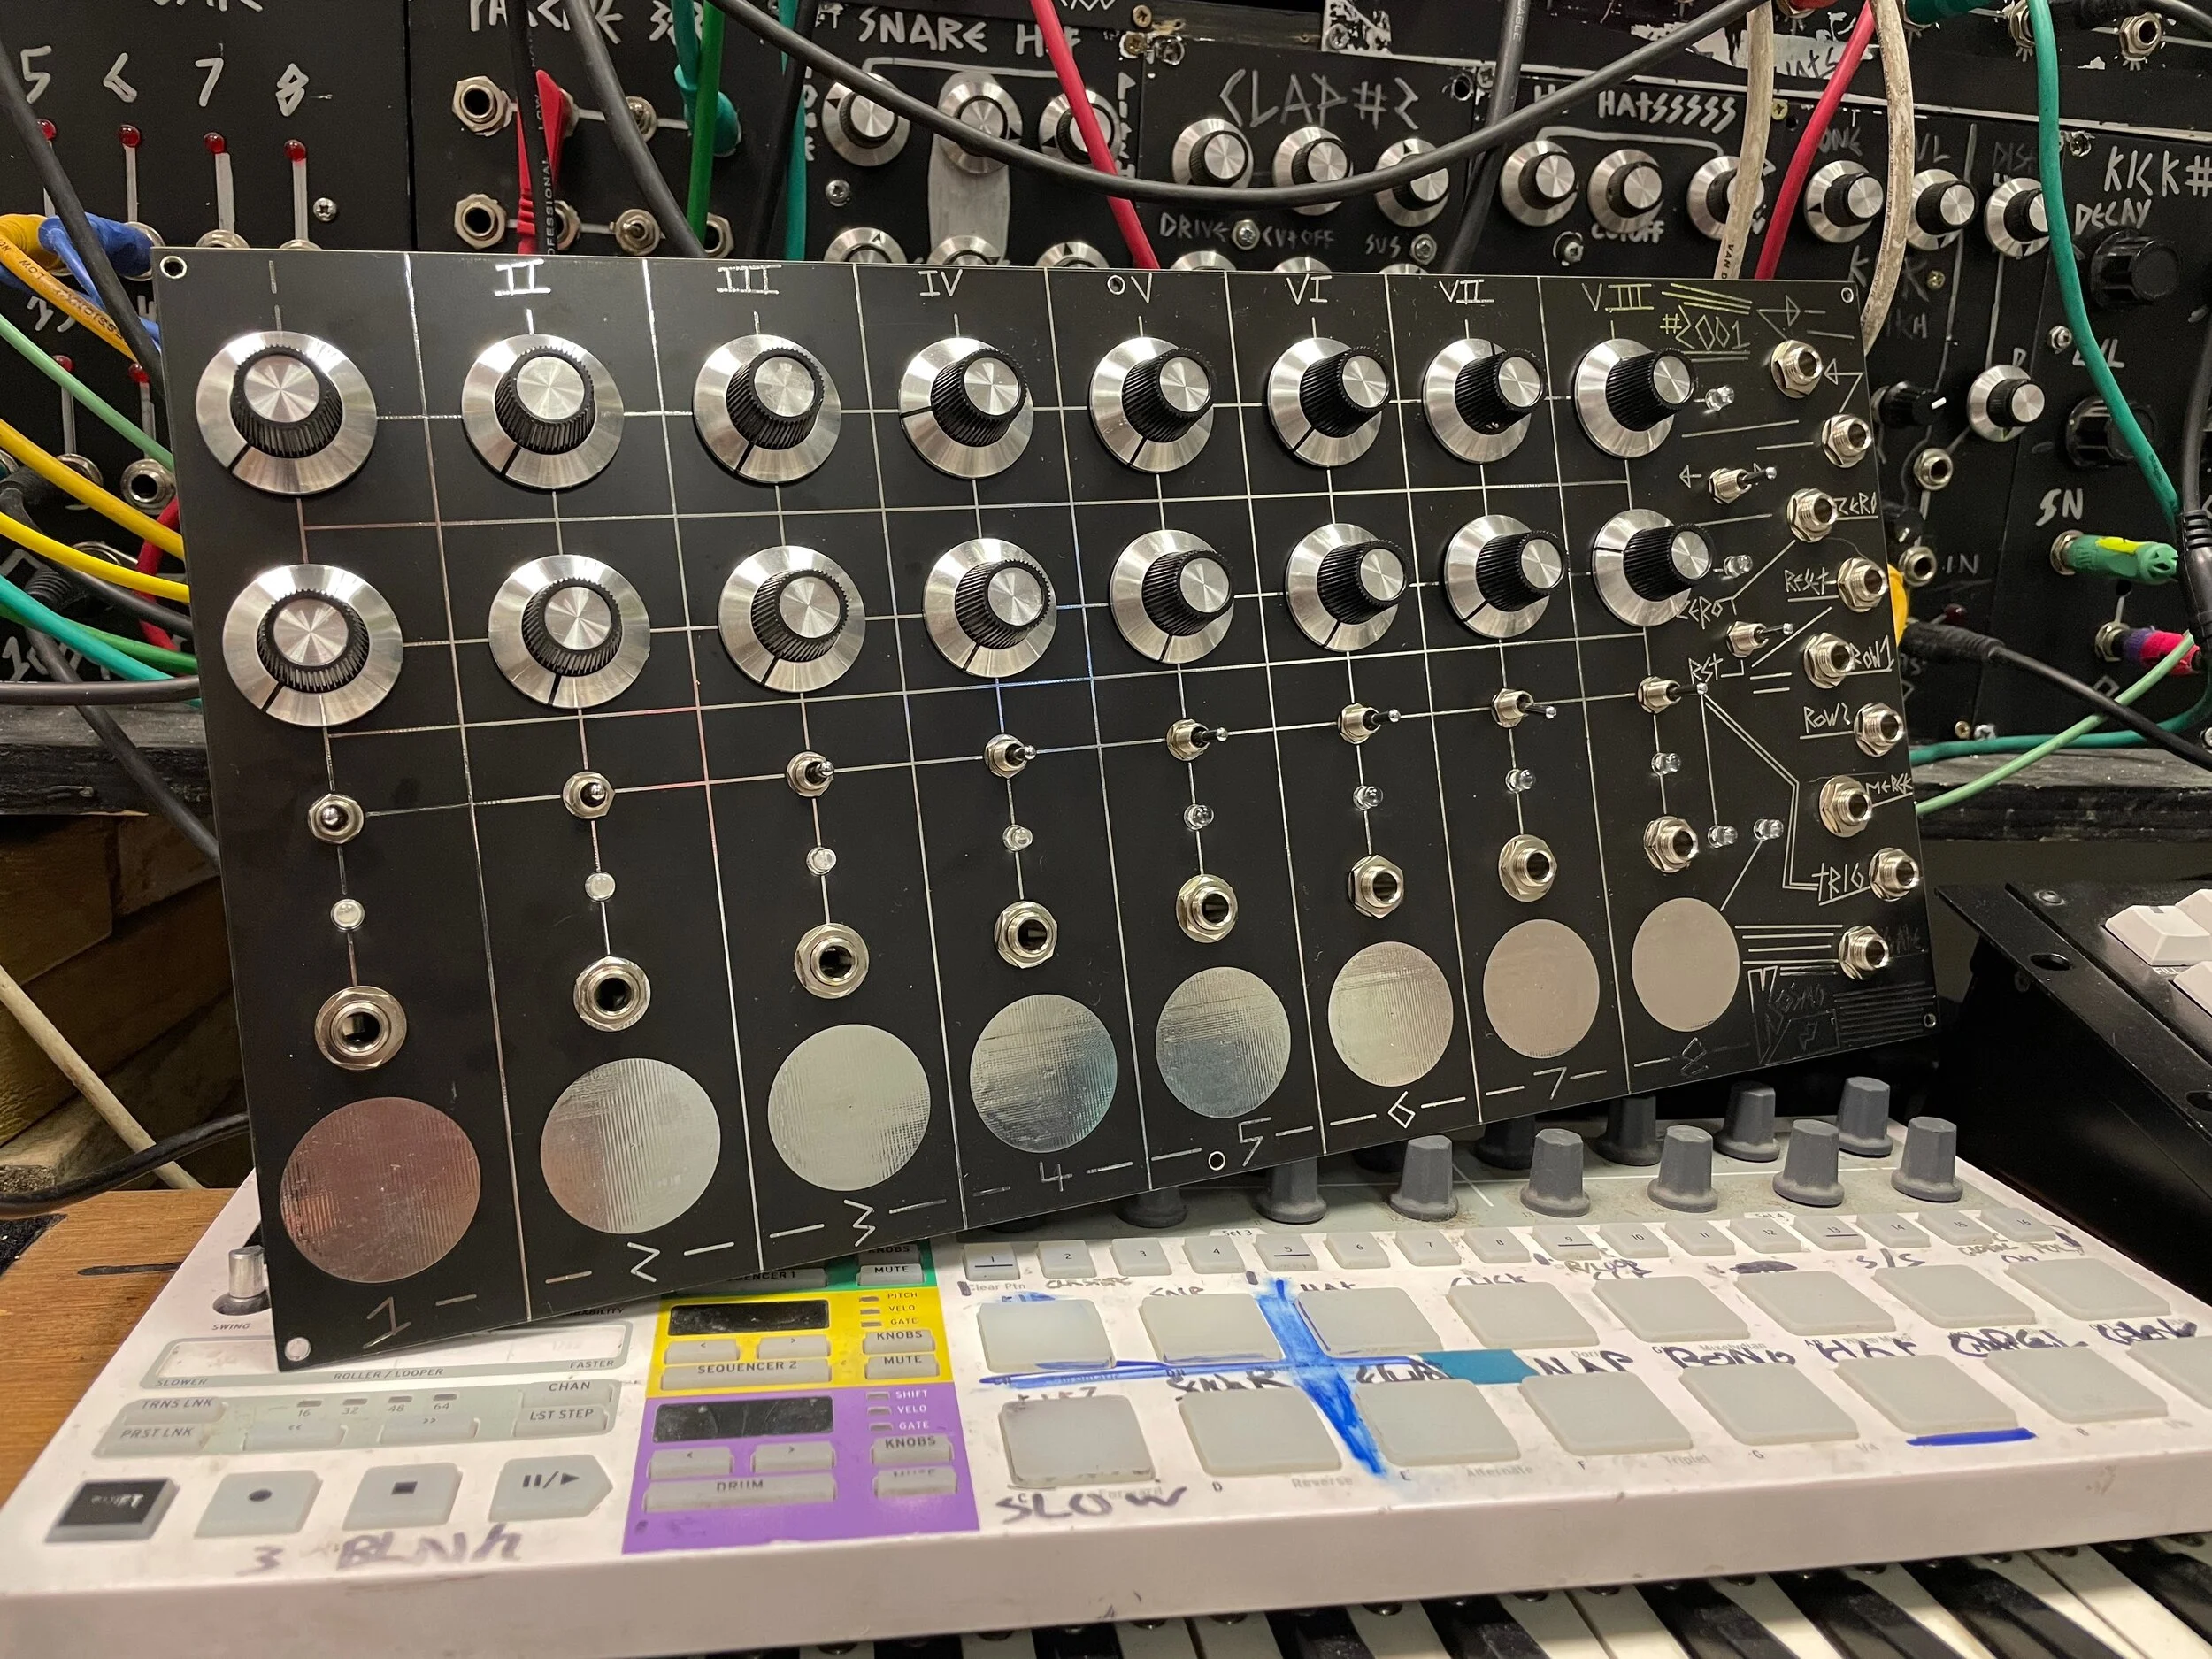
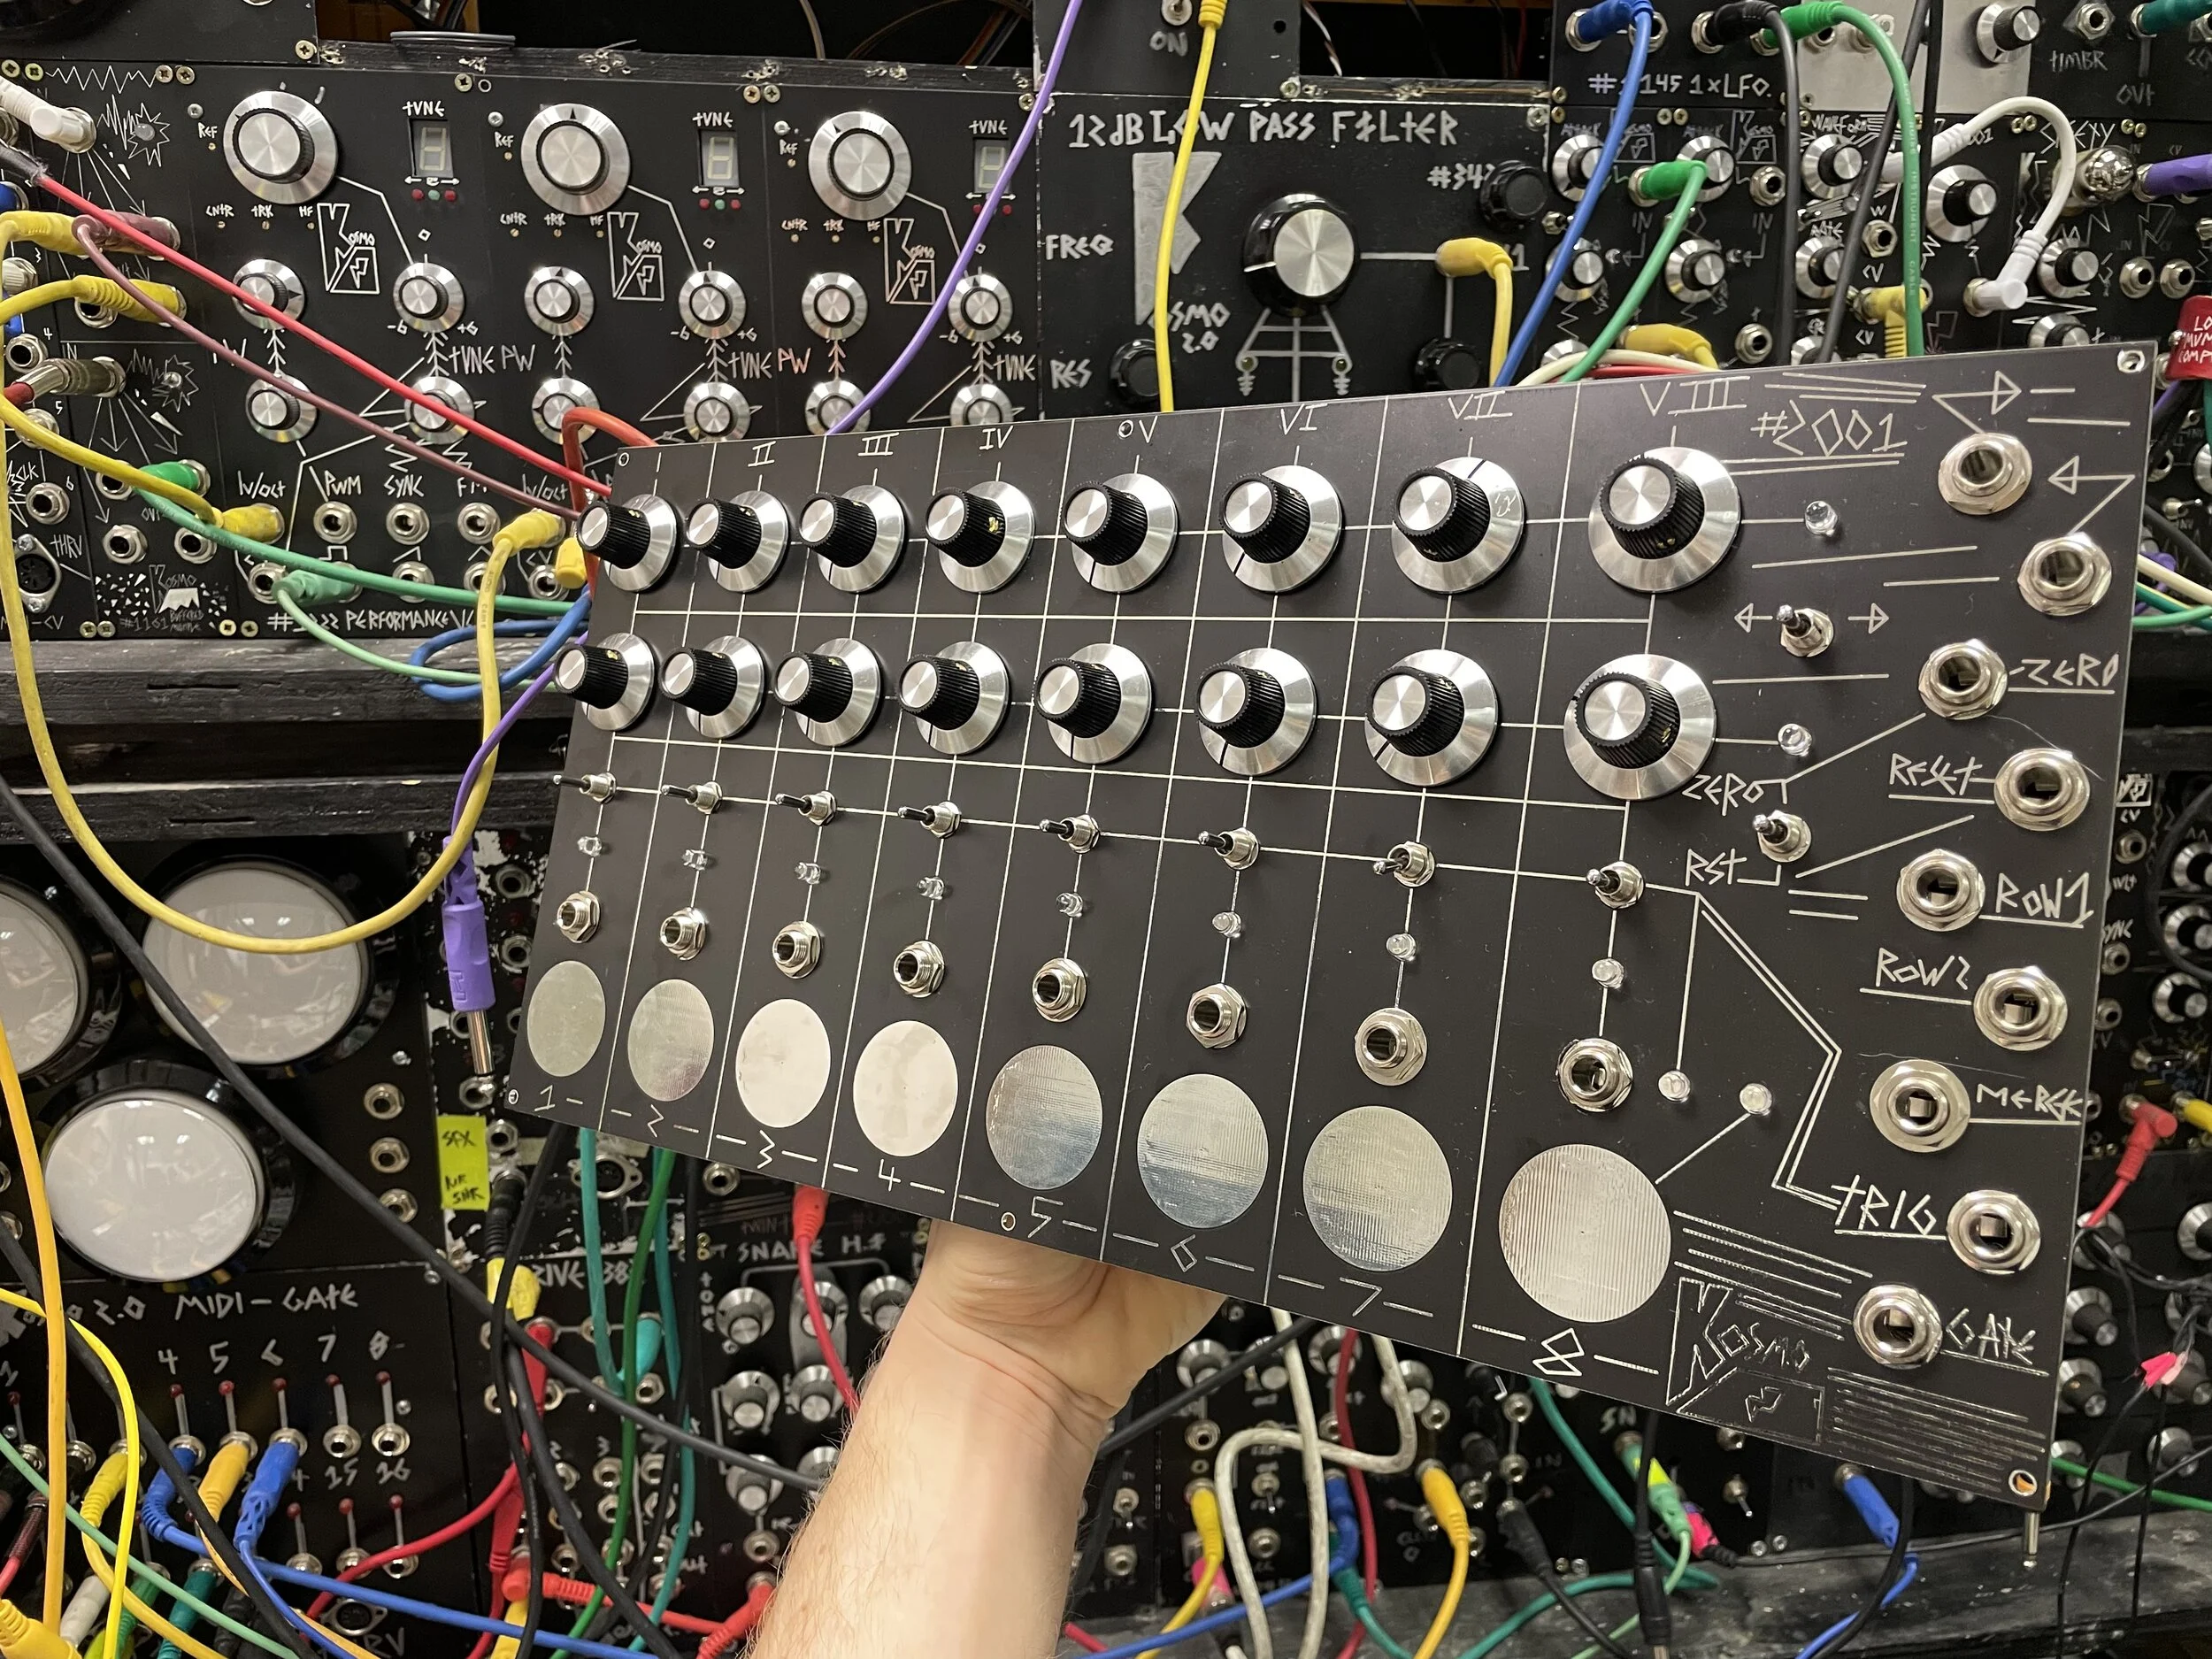
Serge Style Capacitive touch keyboard pads. Initially done this way to save the costs of the builder having to source and purchase arcade buttons which can add more cost to the build, this also reduces the depth of the module, but also makes it easier to play, the responsive nature of the buttons can also be changed in the code.
the layout of the electronics connected to the arduino is in a very similar way to the original meaning to update and change the code is relatively easy for people who aren’t well versed in code, there are no multiplexers and other types of electronics.
there is an output for the top sequence row and the bottom sequence row. however there is also an output that bounces between the two this means it can also be used as a 16 step sequencer. This means you can get any step length between 1 and 16, but you can also have it as a polyphonic 8 step sequencer. BUT! you can even have both settings at the same time as they are separate outputs.
Switches that can send out either gates or triggers meaning you can use it like a “303” style sequencer
A Gate output from the capacitive touch keys, this means you can use it like a musical keyboard.
NOTES on board revision 1. if R58 says 10k, please place a 1k instead. If you have built this and notice in the merge mode the bottom row doesnt seem to work replace R58 with 1k
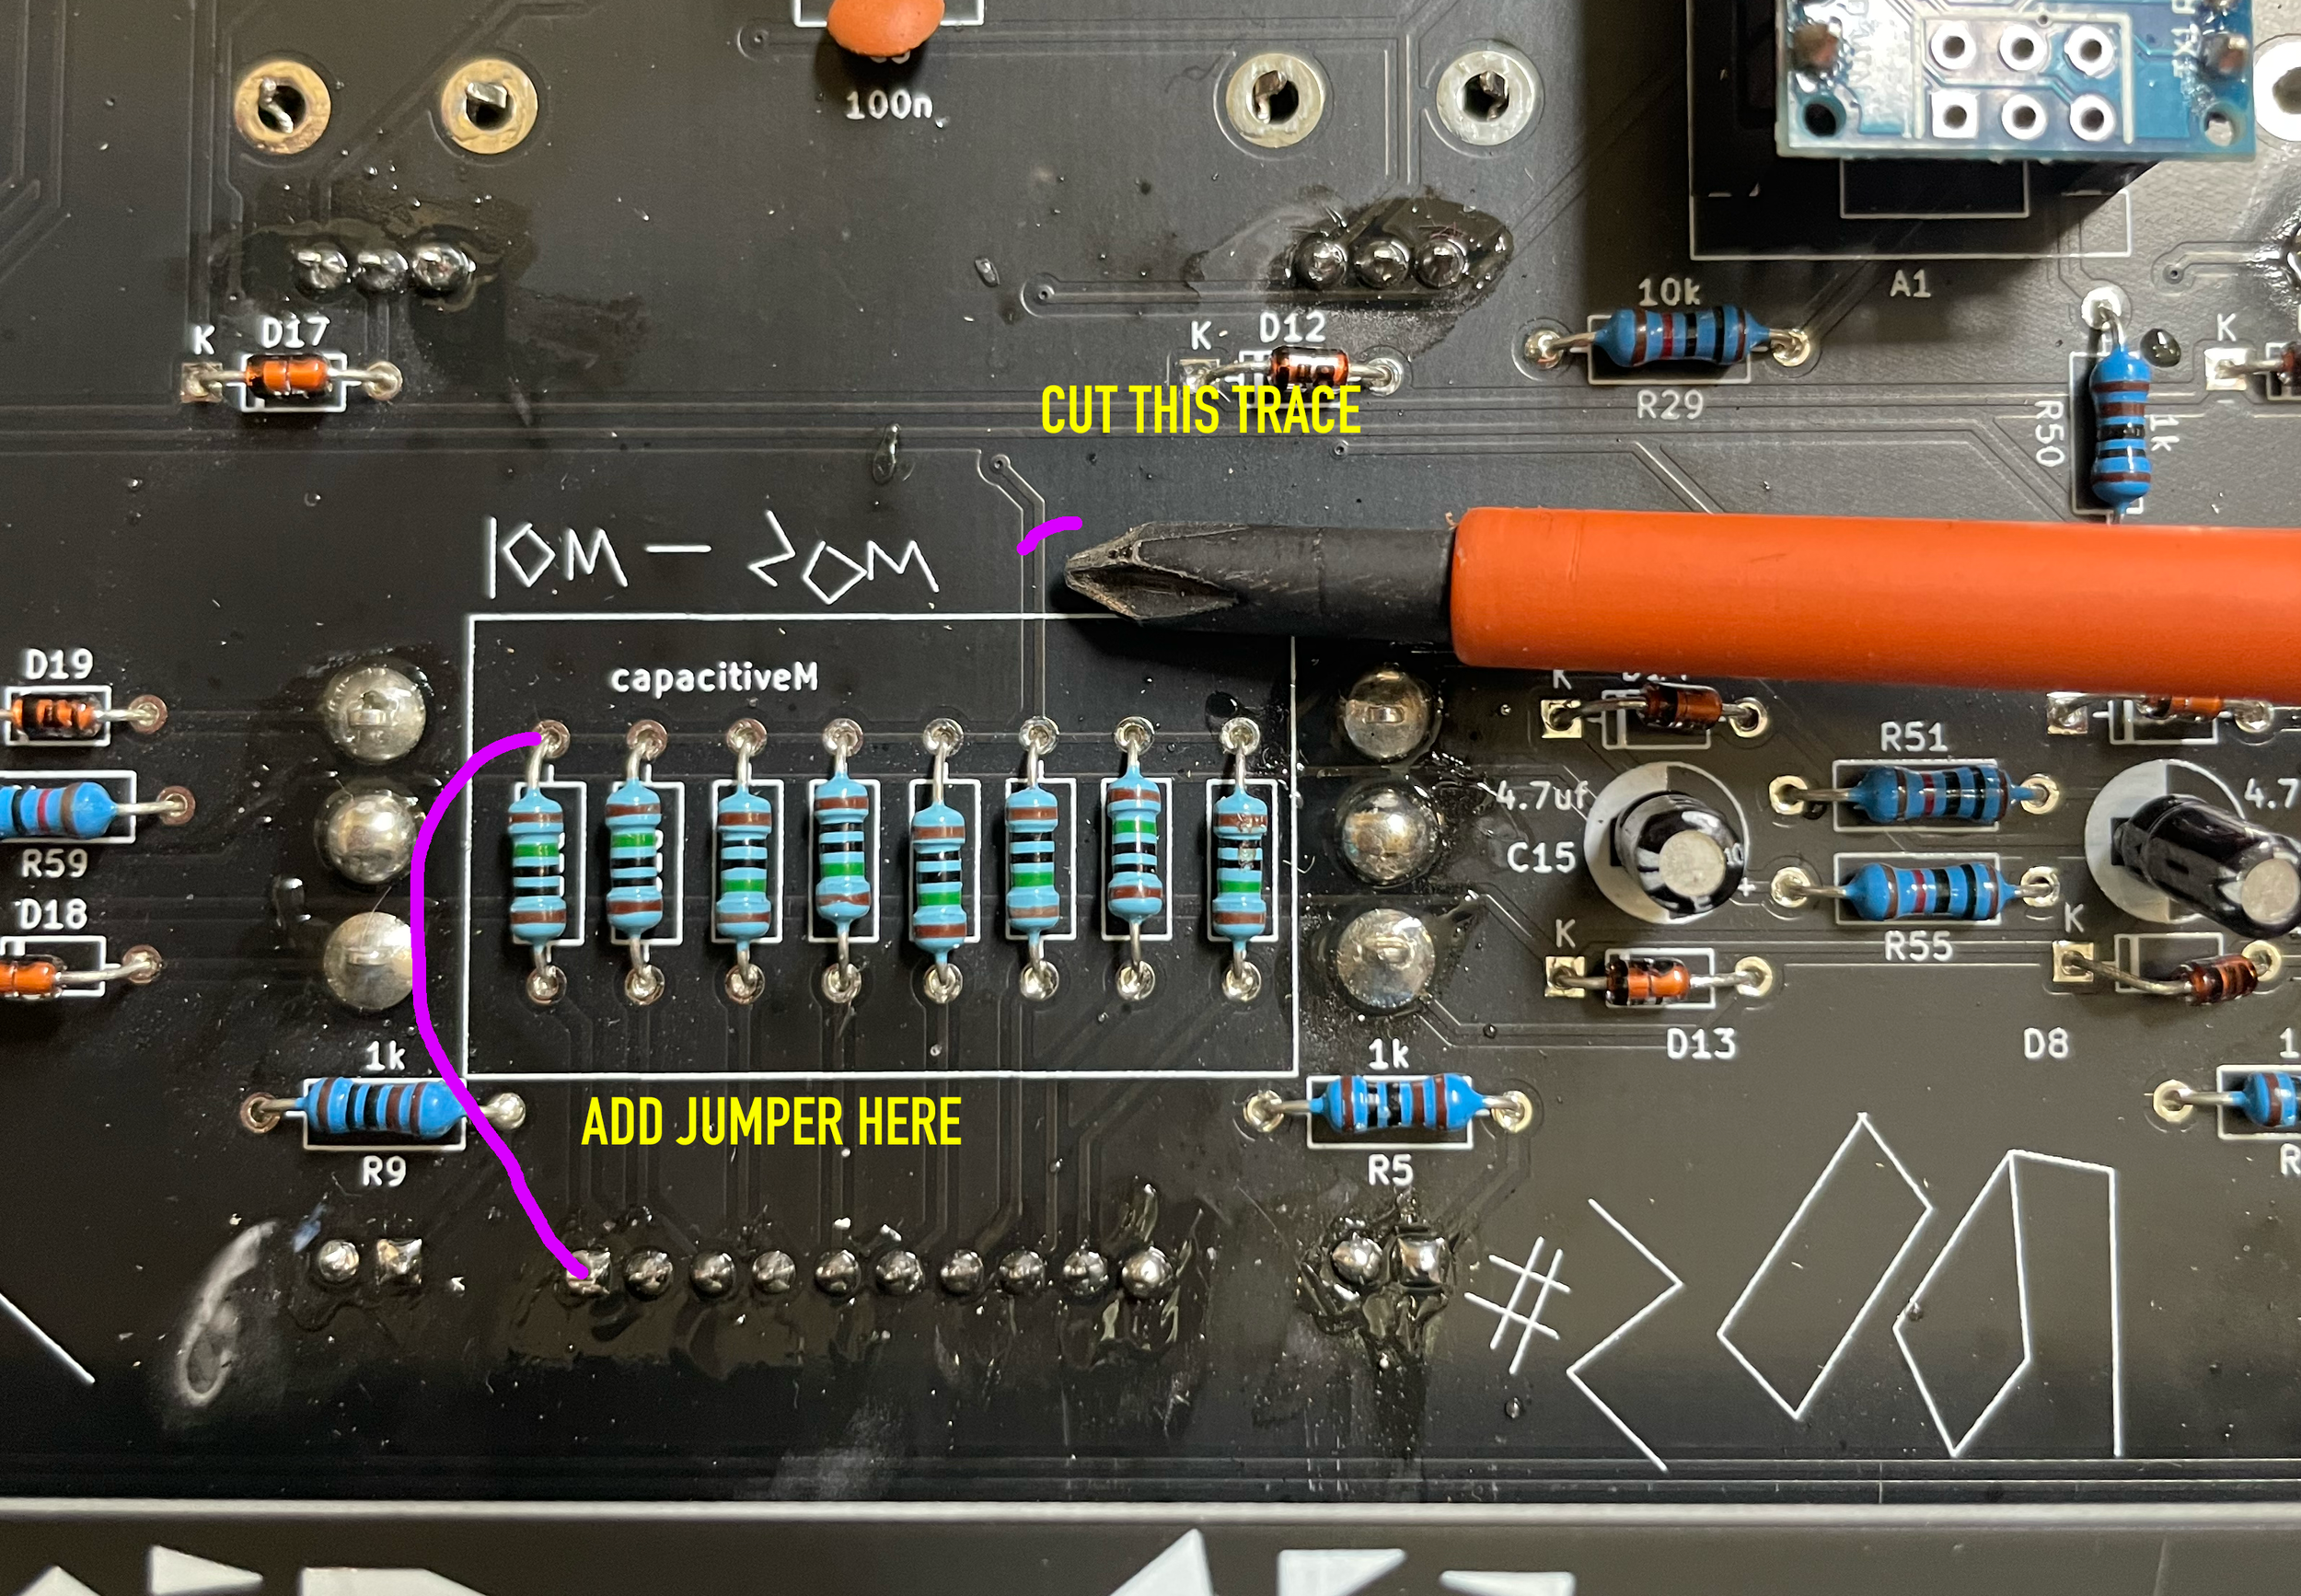
BELOW IS THE LATEST CODE, this is on the eurorack sequencers. But! if you modify the keyboard sequencers from 2021-2024 you can use this code too. it only requires 1 trace cut and jumper cable. this code is quicker and much more stable. :-
To use the updated code you need to modify the DIY Kosmo 2001. cut the trace that connects the capacitve resistors to 5v. and then add a jumper where the pink line is, between the resistors and the pin shown which is GND.
If loading the code onto the Eurorack version, make sure the bootloader is set to Atmega168 :).

